
How to add custom domain
Add a custom domain on temp-mail.io to use your own domain name for email addresses instead of the service's default domains. This guide will walk you through the entire process from purchasing a domain to configuring it.
Table of contents:
Prerequisites
Before you begin, make sure you have:
- A credit card or another payment method for domain registration
- Premium subscription to temp-mail.io, you can subscribe here
- Patience - the process can take 24-48 hours for full setup (but in most cases it takes a few minutes)
Step 1: Purchase a domain name
Choose a domain registrar
Popular domain registrars:
- GoDaddy - widely used, good support
- Namecheap - competitive pricing, good privacy
- Google Domains - clean interface, good integration
- Cloudflare - excellent security features
- Hover - simple and reliable
Select your domain name
- Choose a short and easy-to-read name that represents your brand or purpose
- Consider the extension (.com, .net, .org, .io, etc.)
- Check availability using the registrar's search tool
- Avoid hyphens and numbers when possible for better memorability
Examples of good domain names:
mybusiness.commystartup.iomyportfolio.netmycompany.org
Complete the purchase
- Add the domain to your cart
- Choose registration period (1-2 years, typically)
- Add privacy protection, which is recommended to hide your contact info
- Complete payment
Step 2: Configure your domain
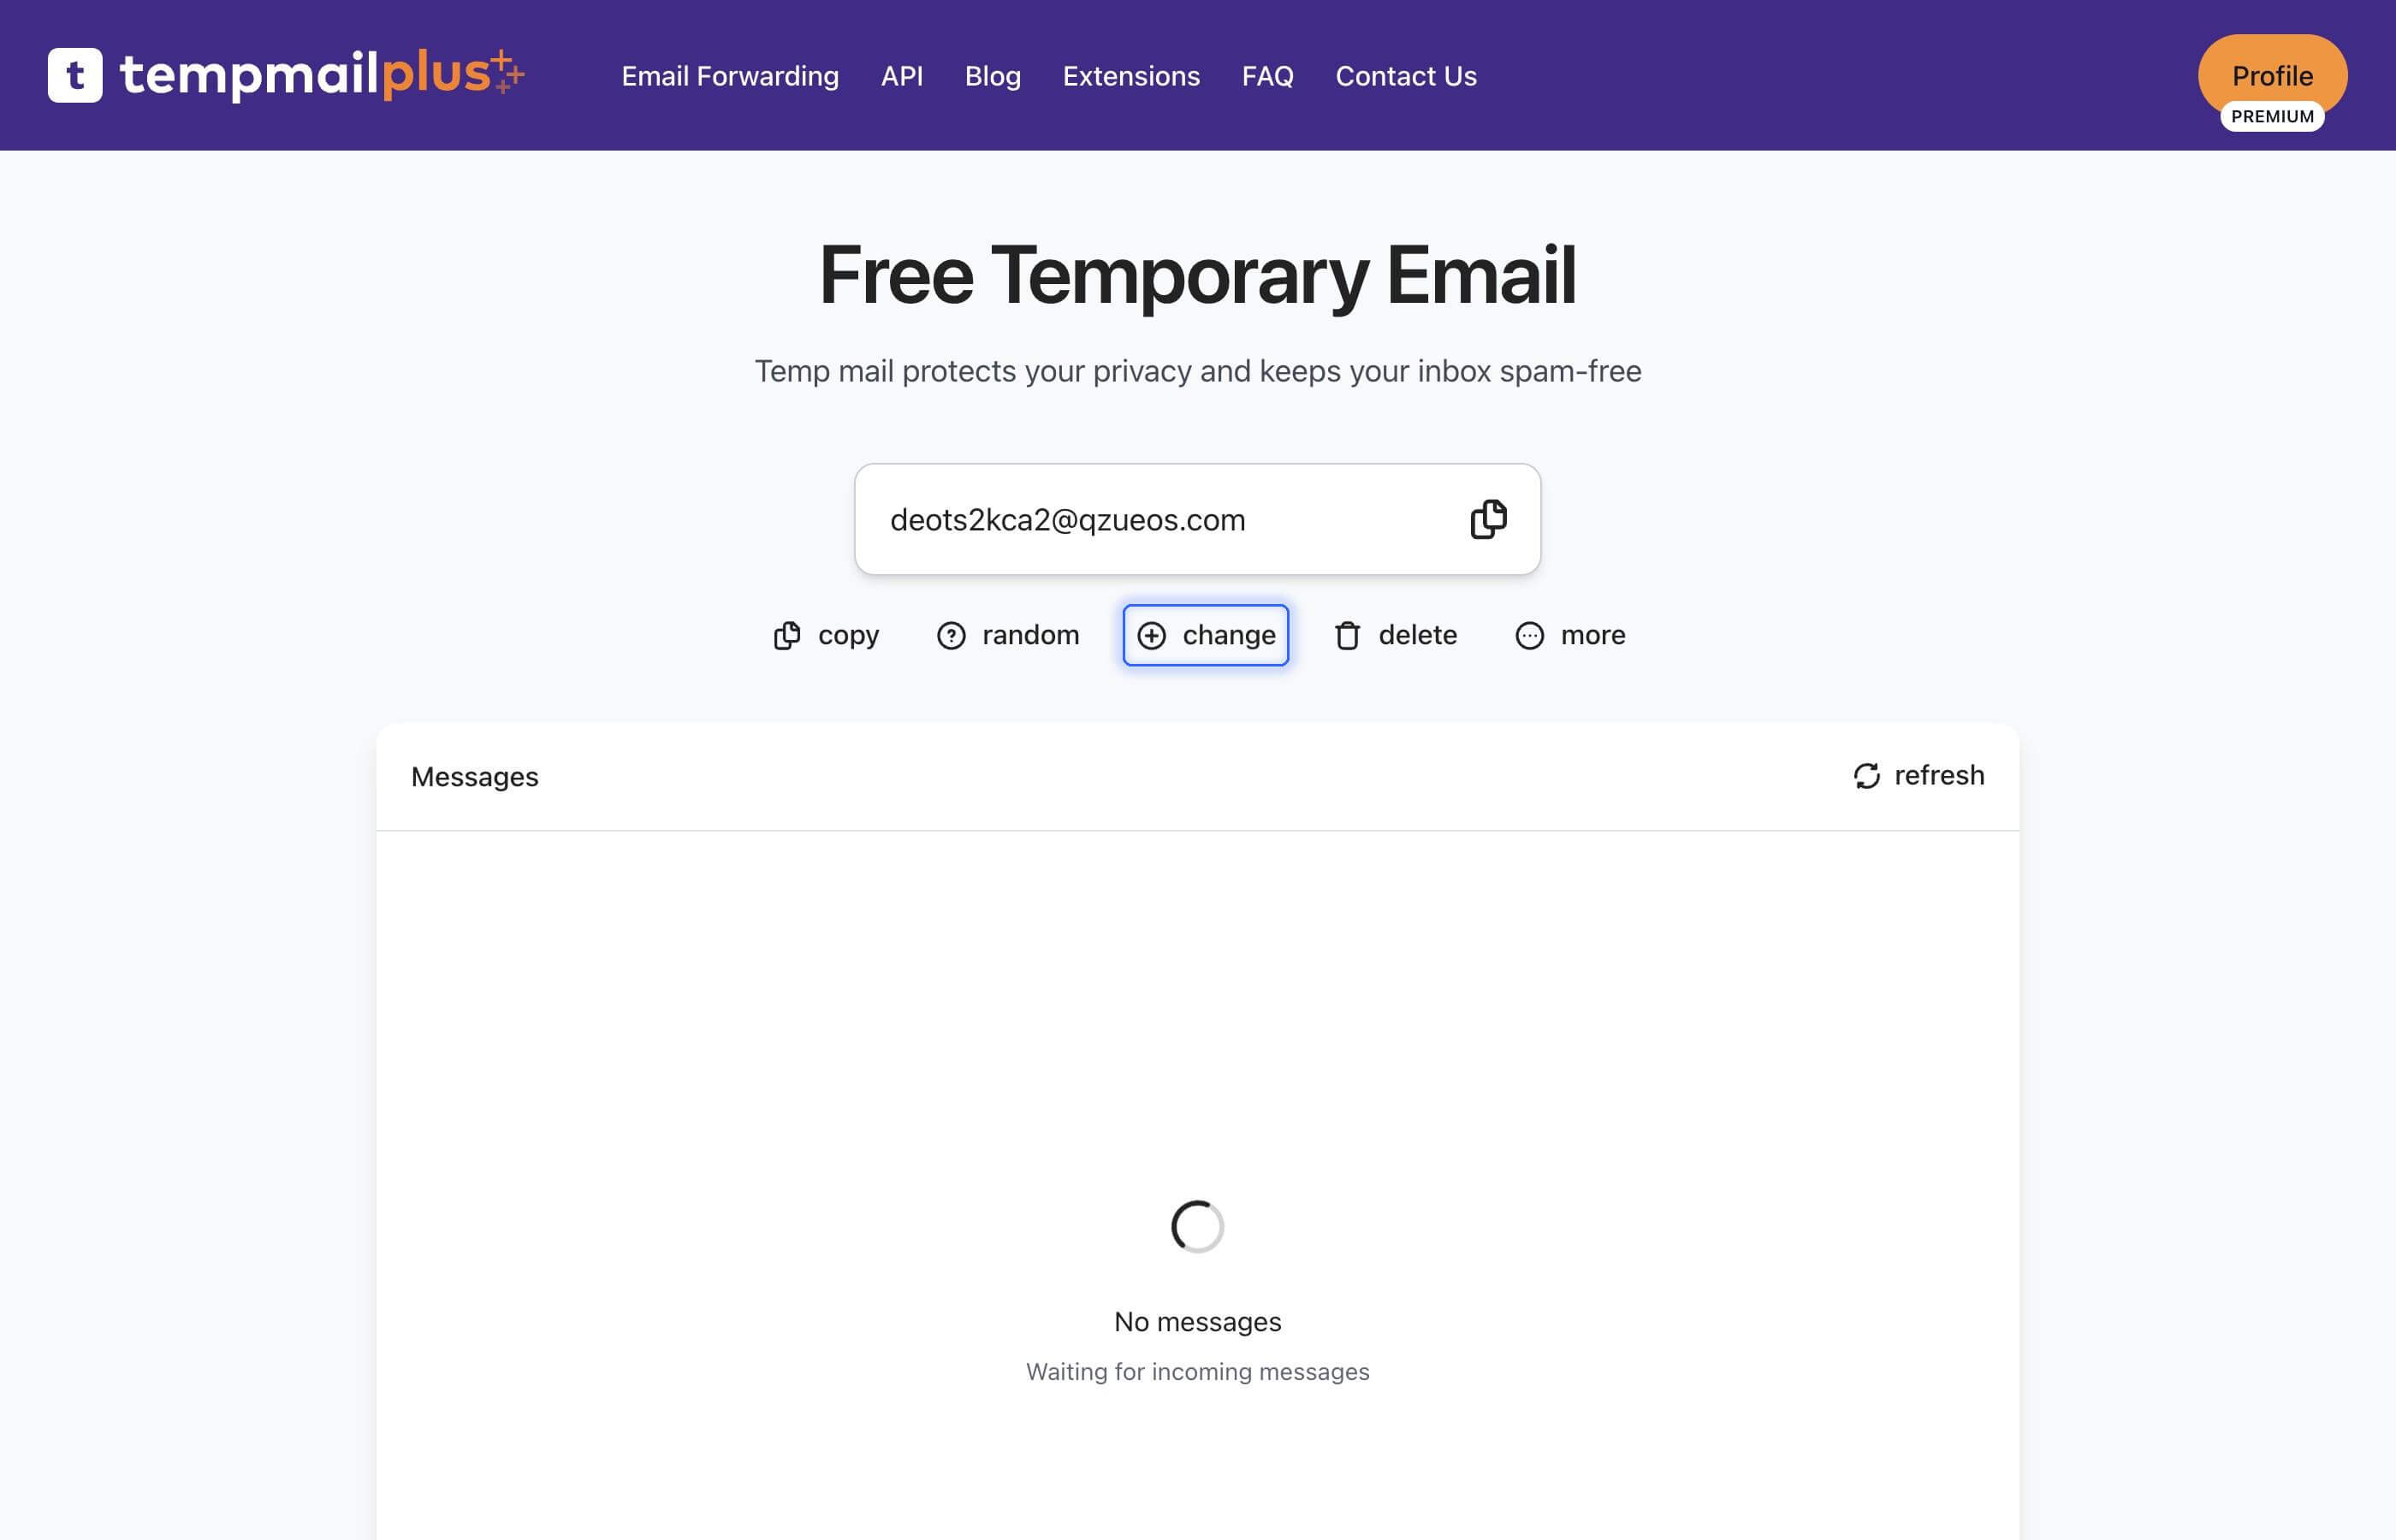
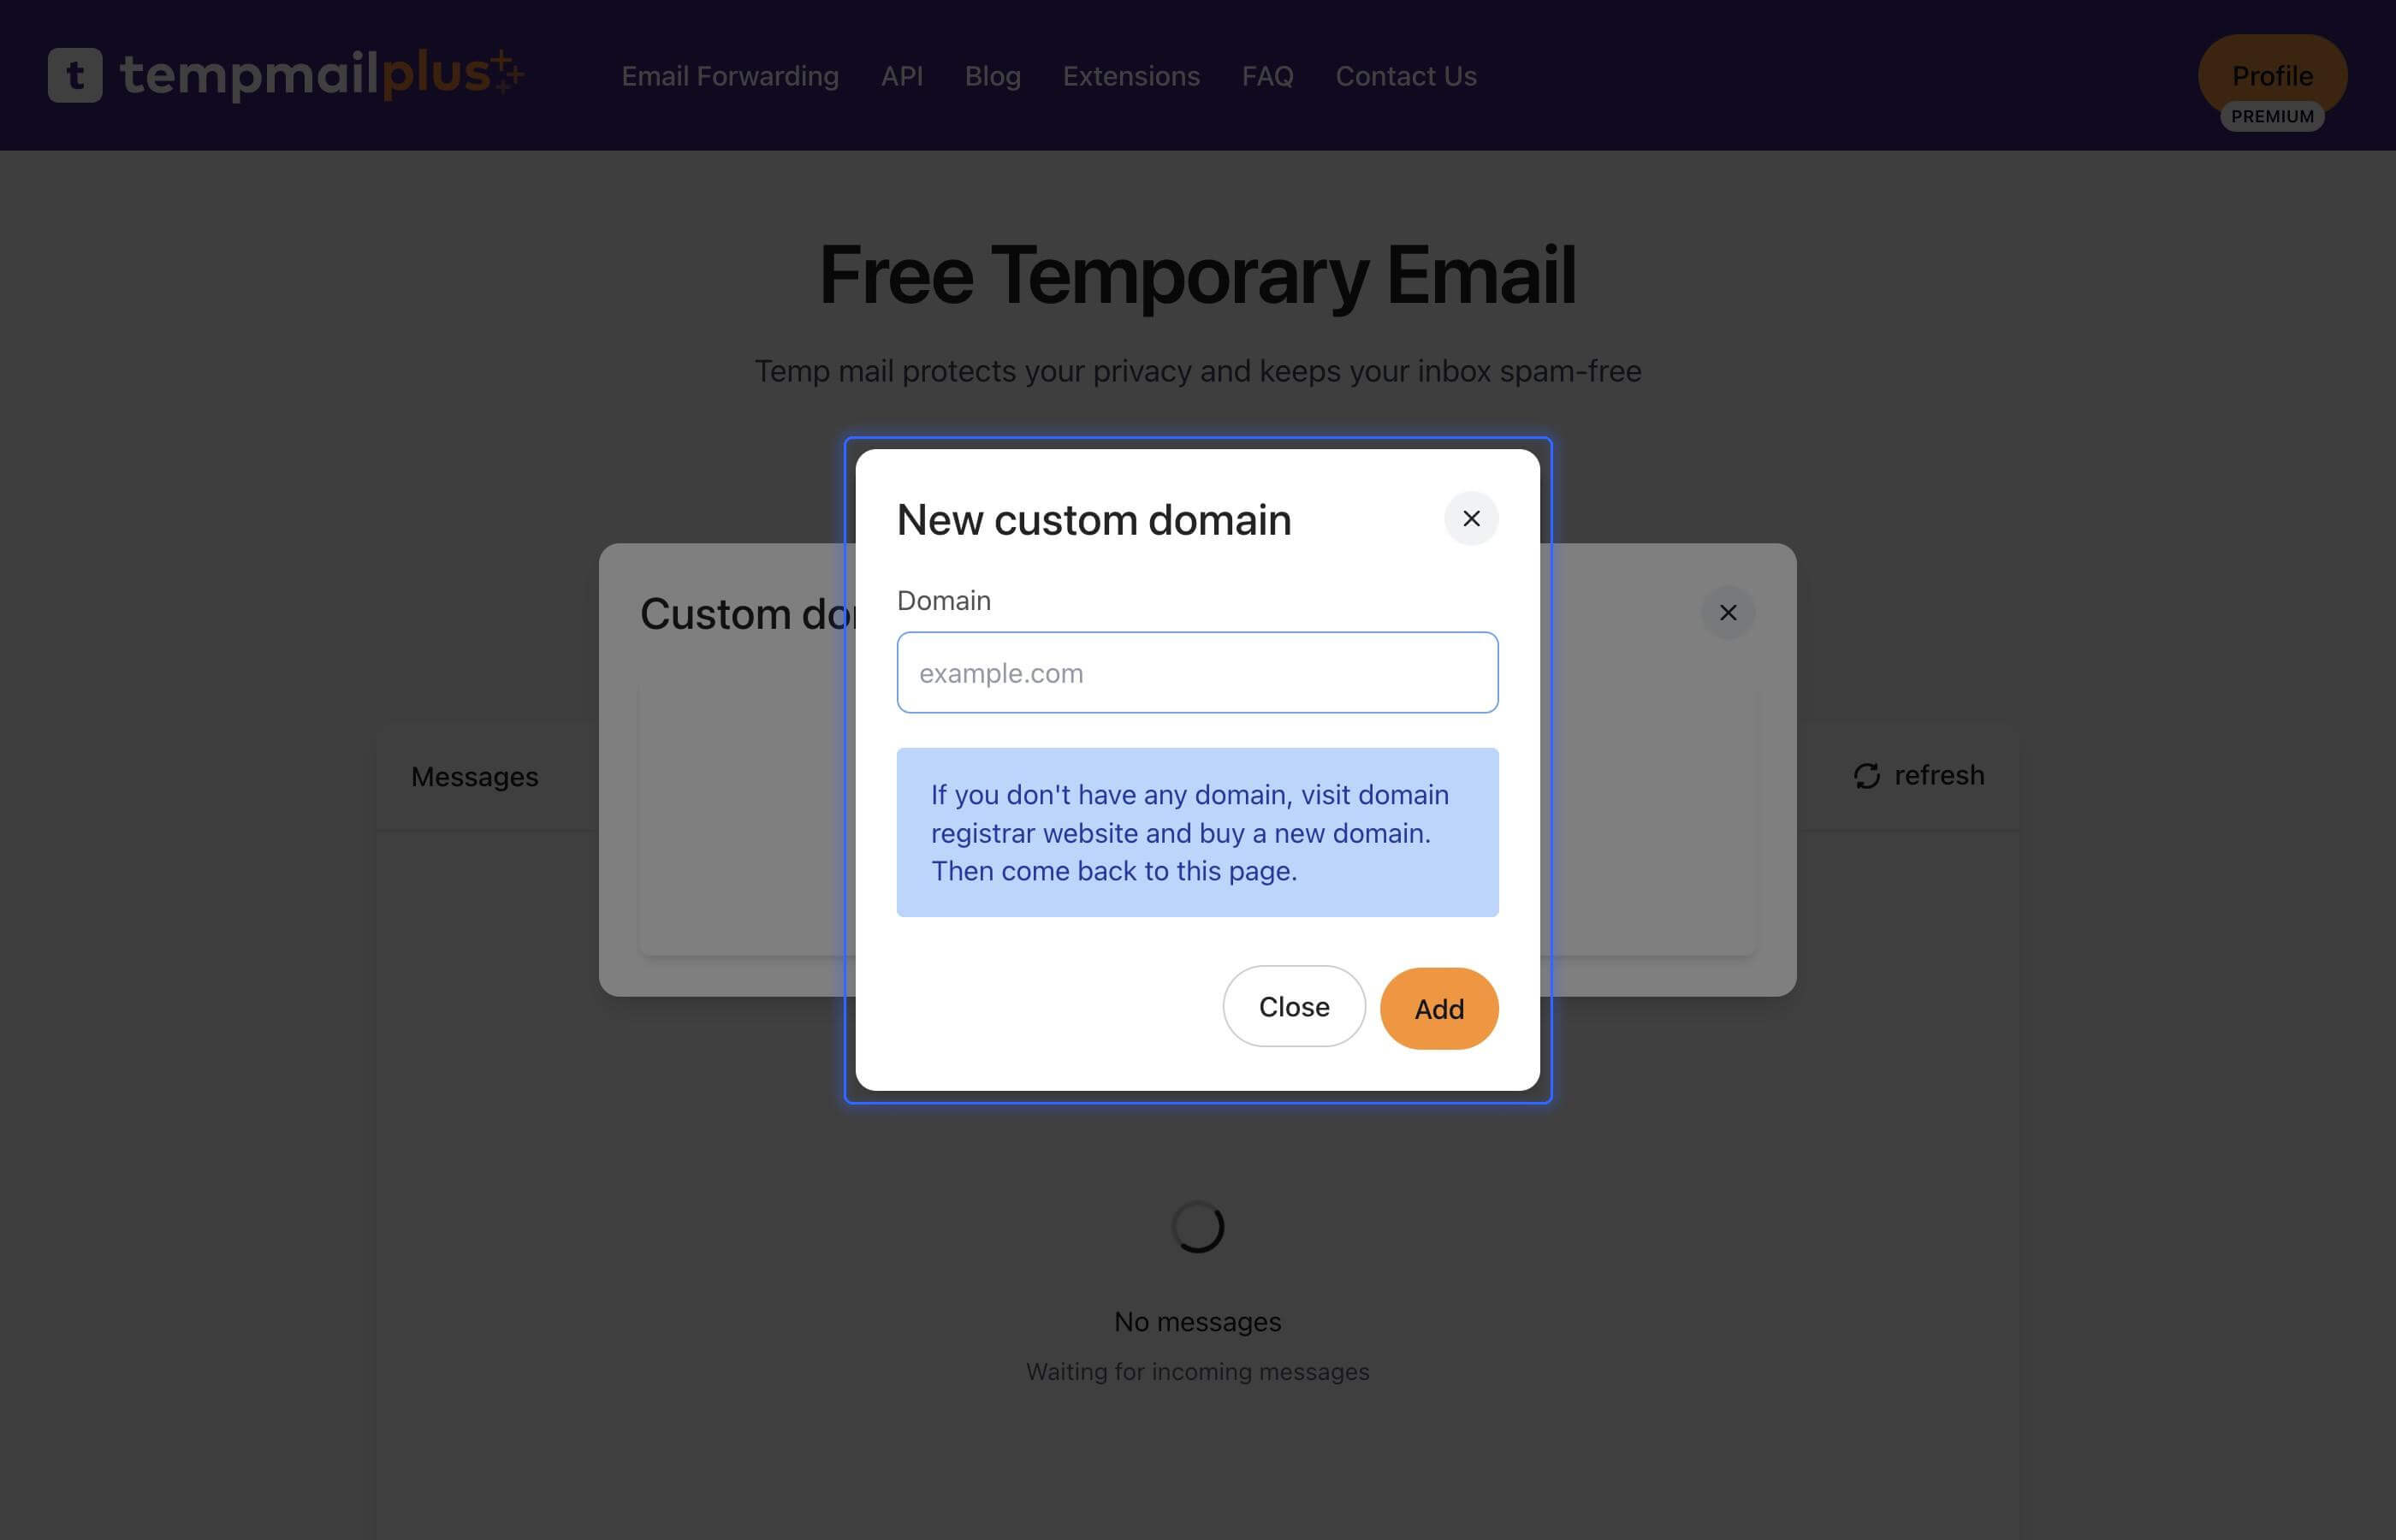
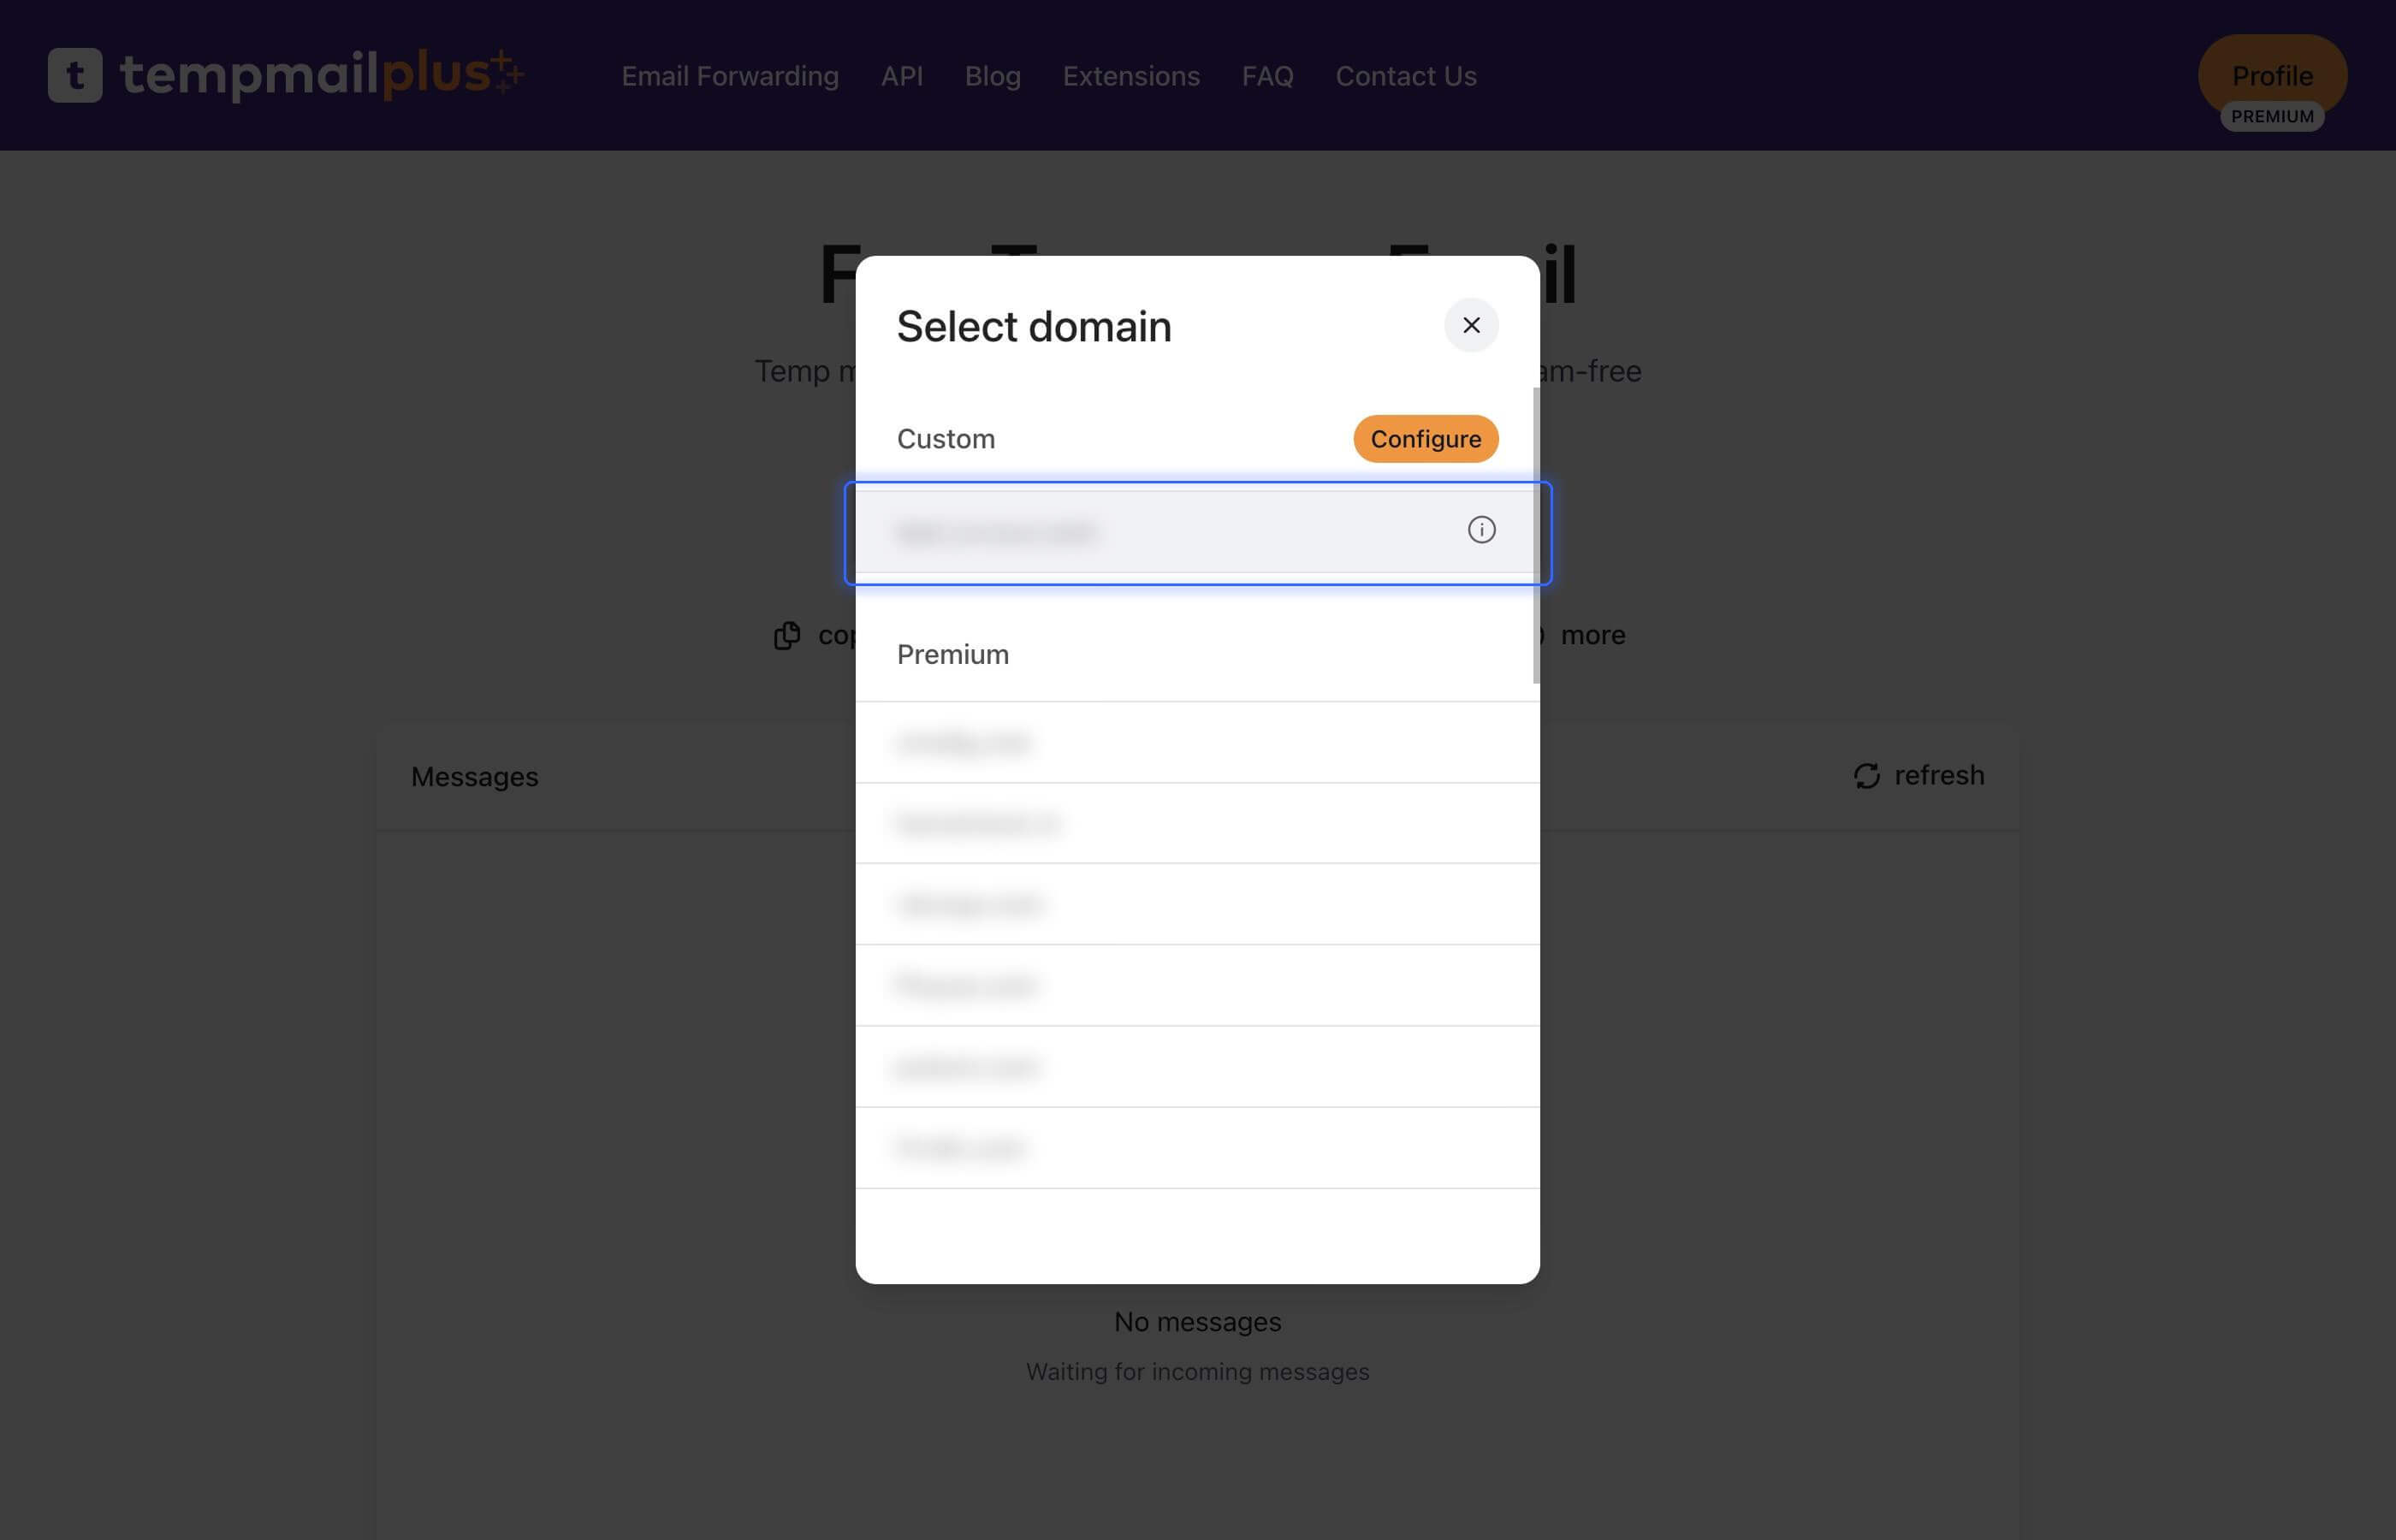
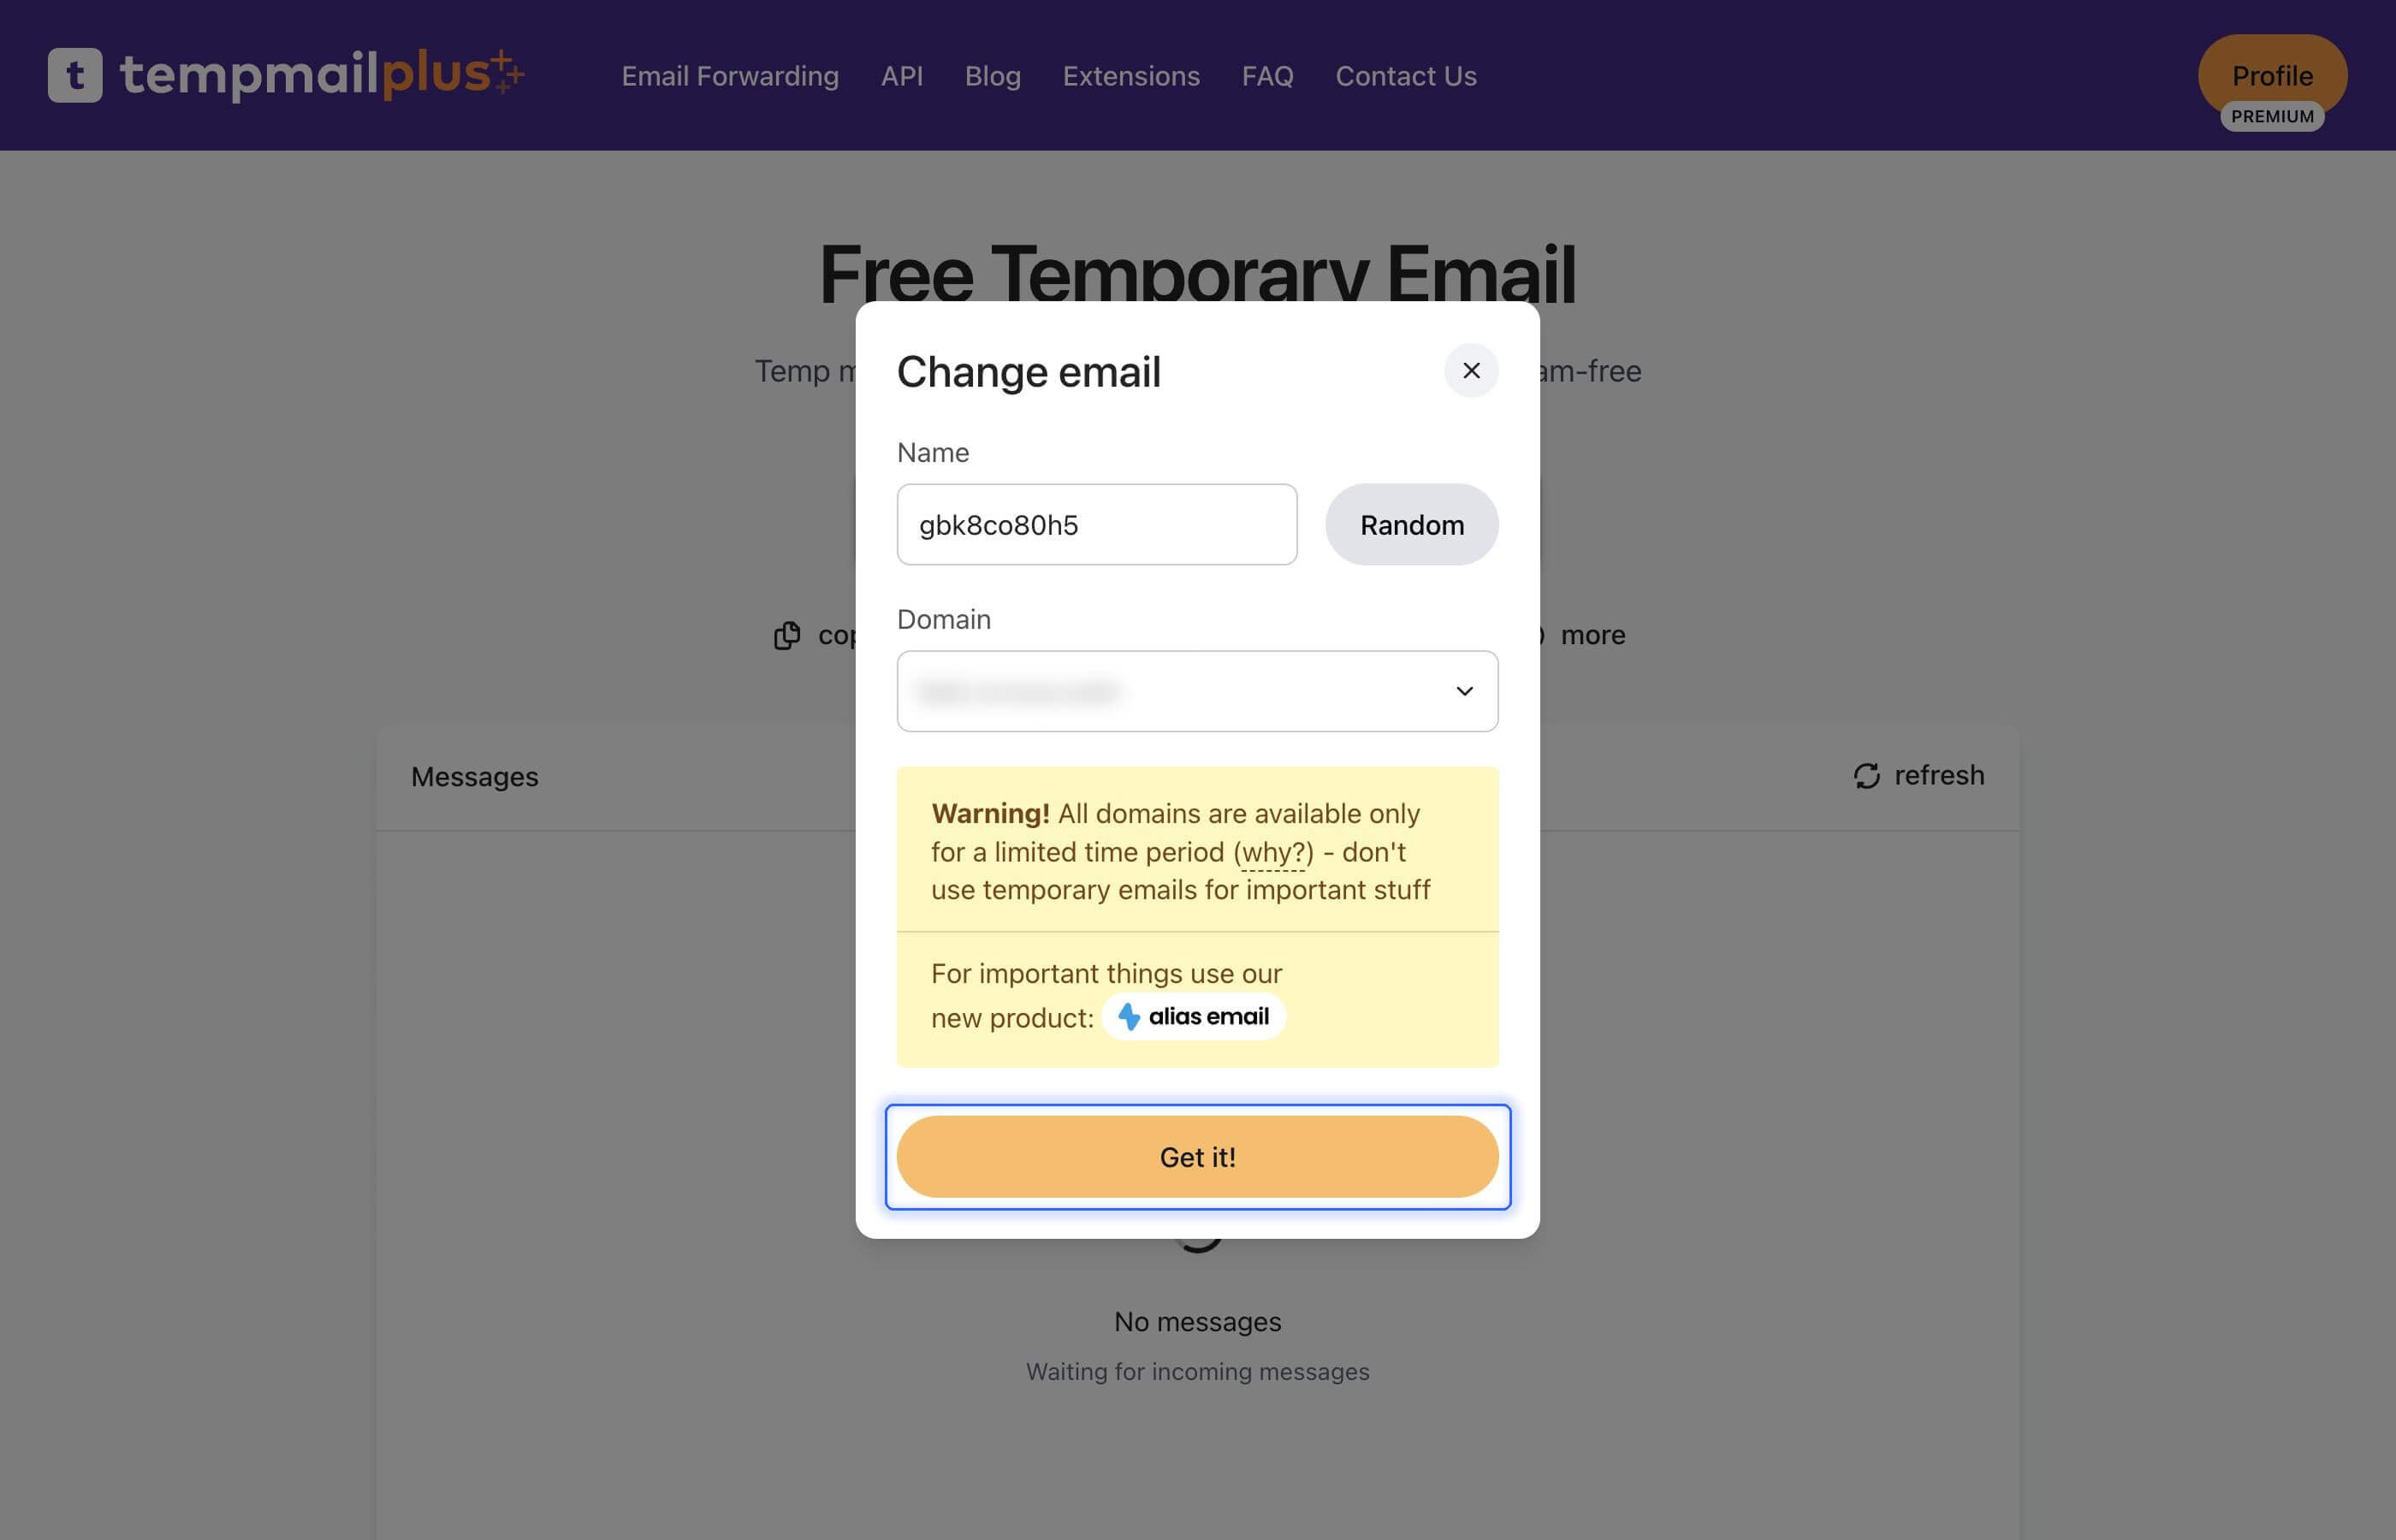
- Click on "change" button. Or you can skip steps 2-4 by visiting custom domains special link.
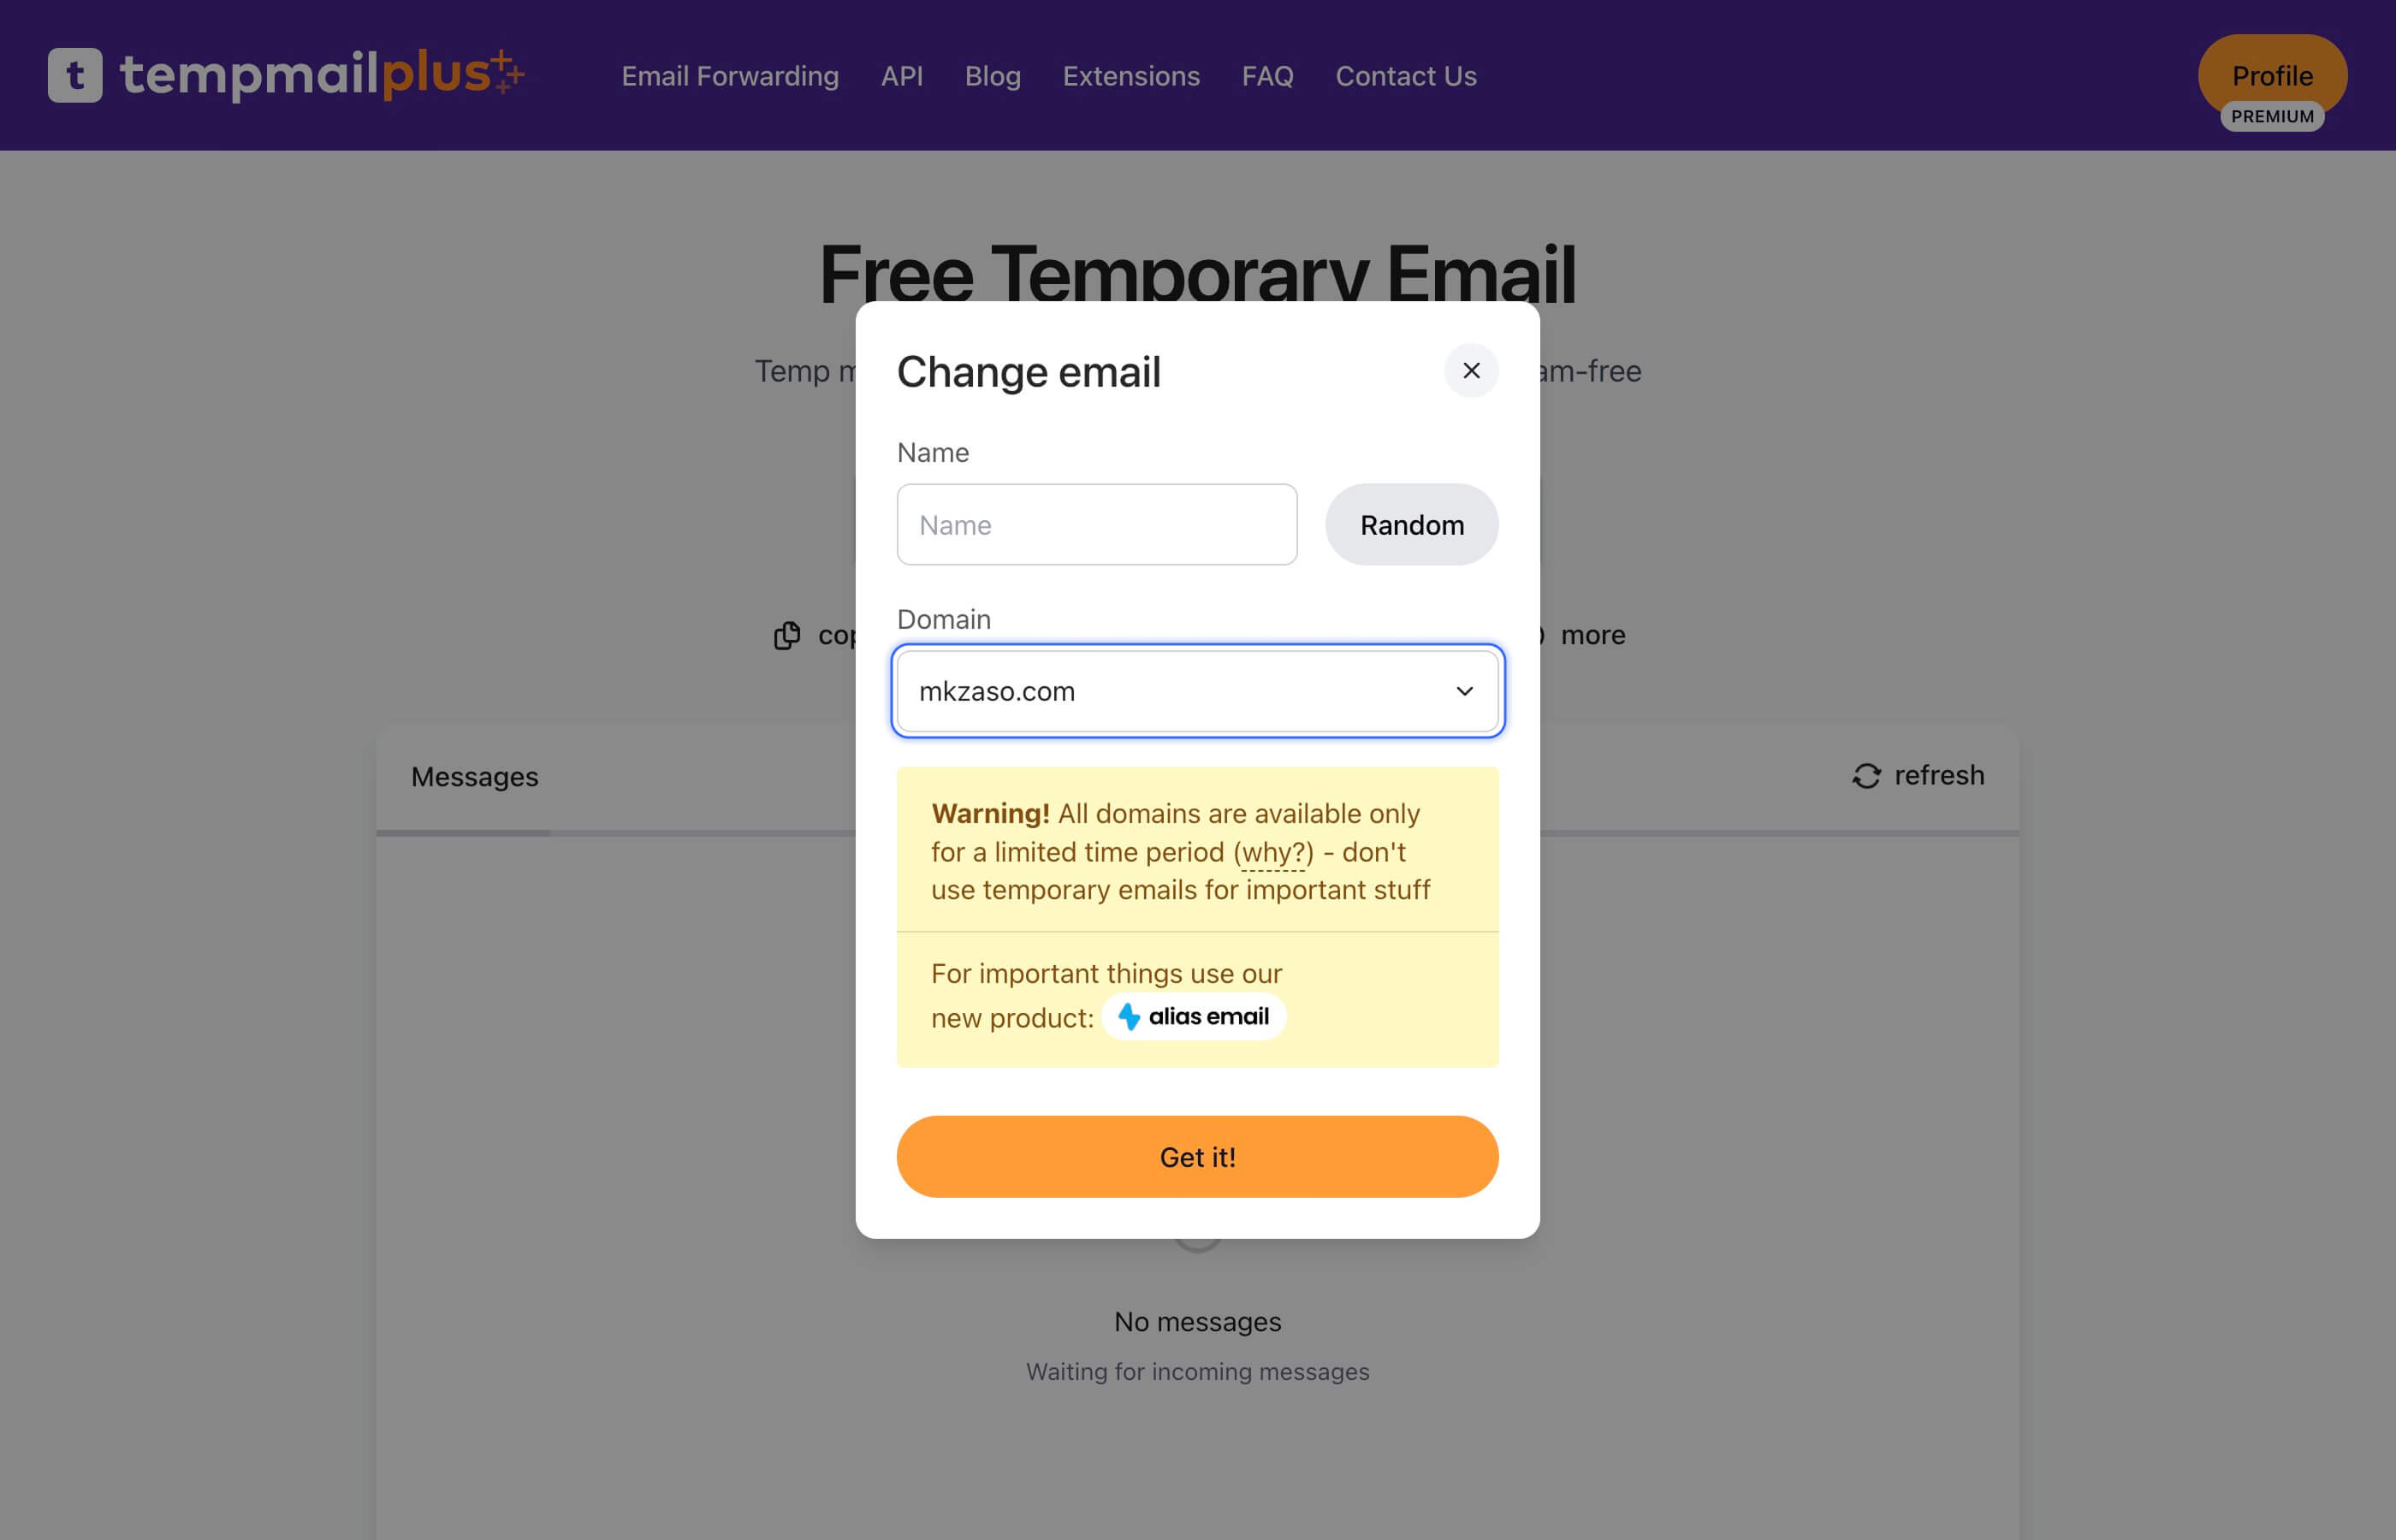
- Click on domain name select to open all domains popup.
- Click on "Configure" button to open custom domains settings.
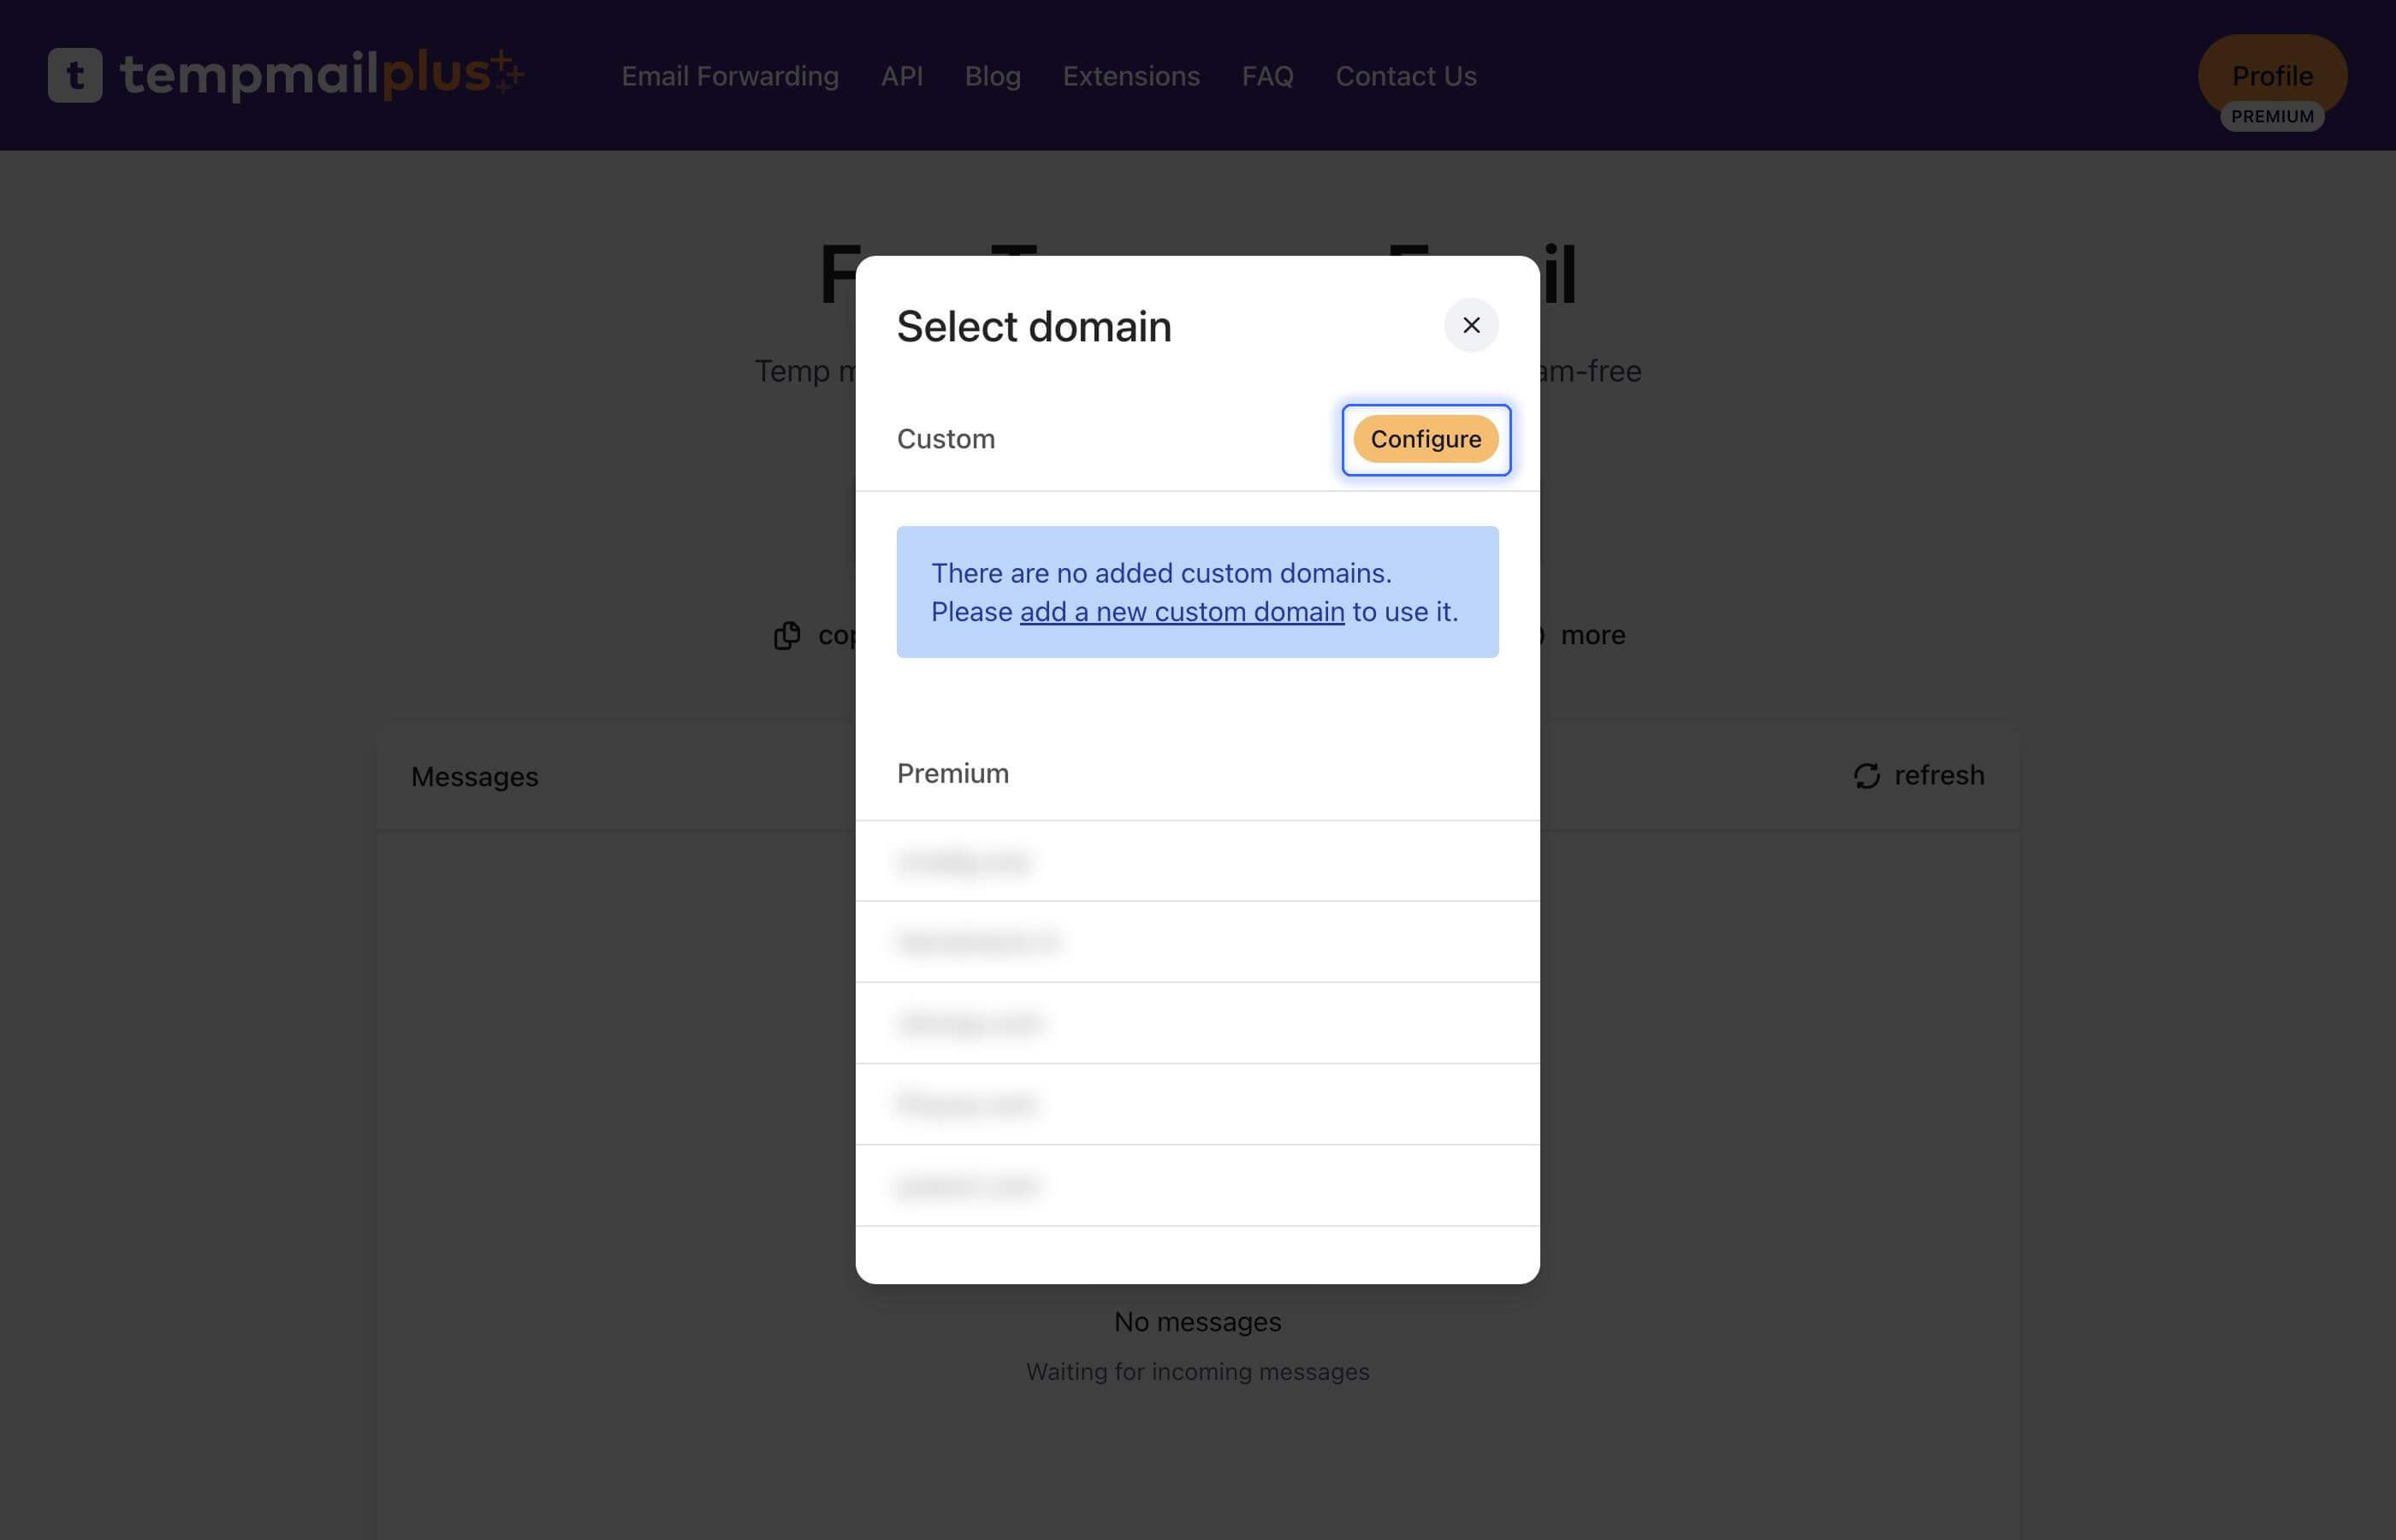
- Add your domain name.
- Now you can see DNS settings for your domain.
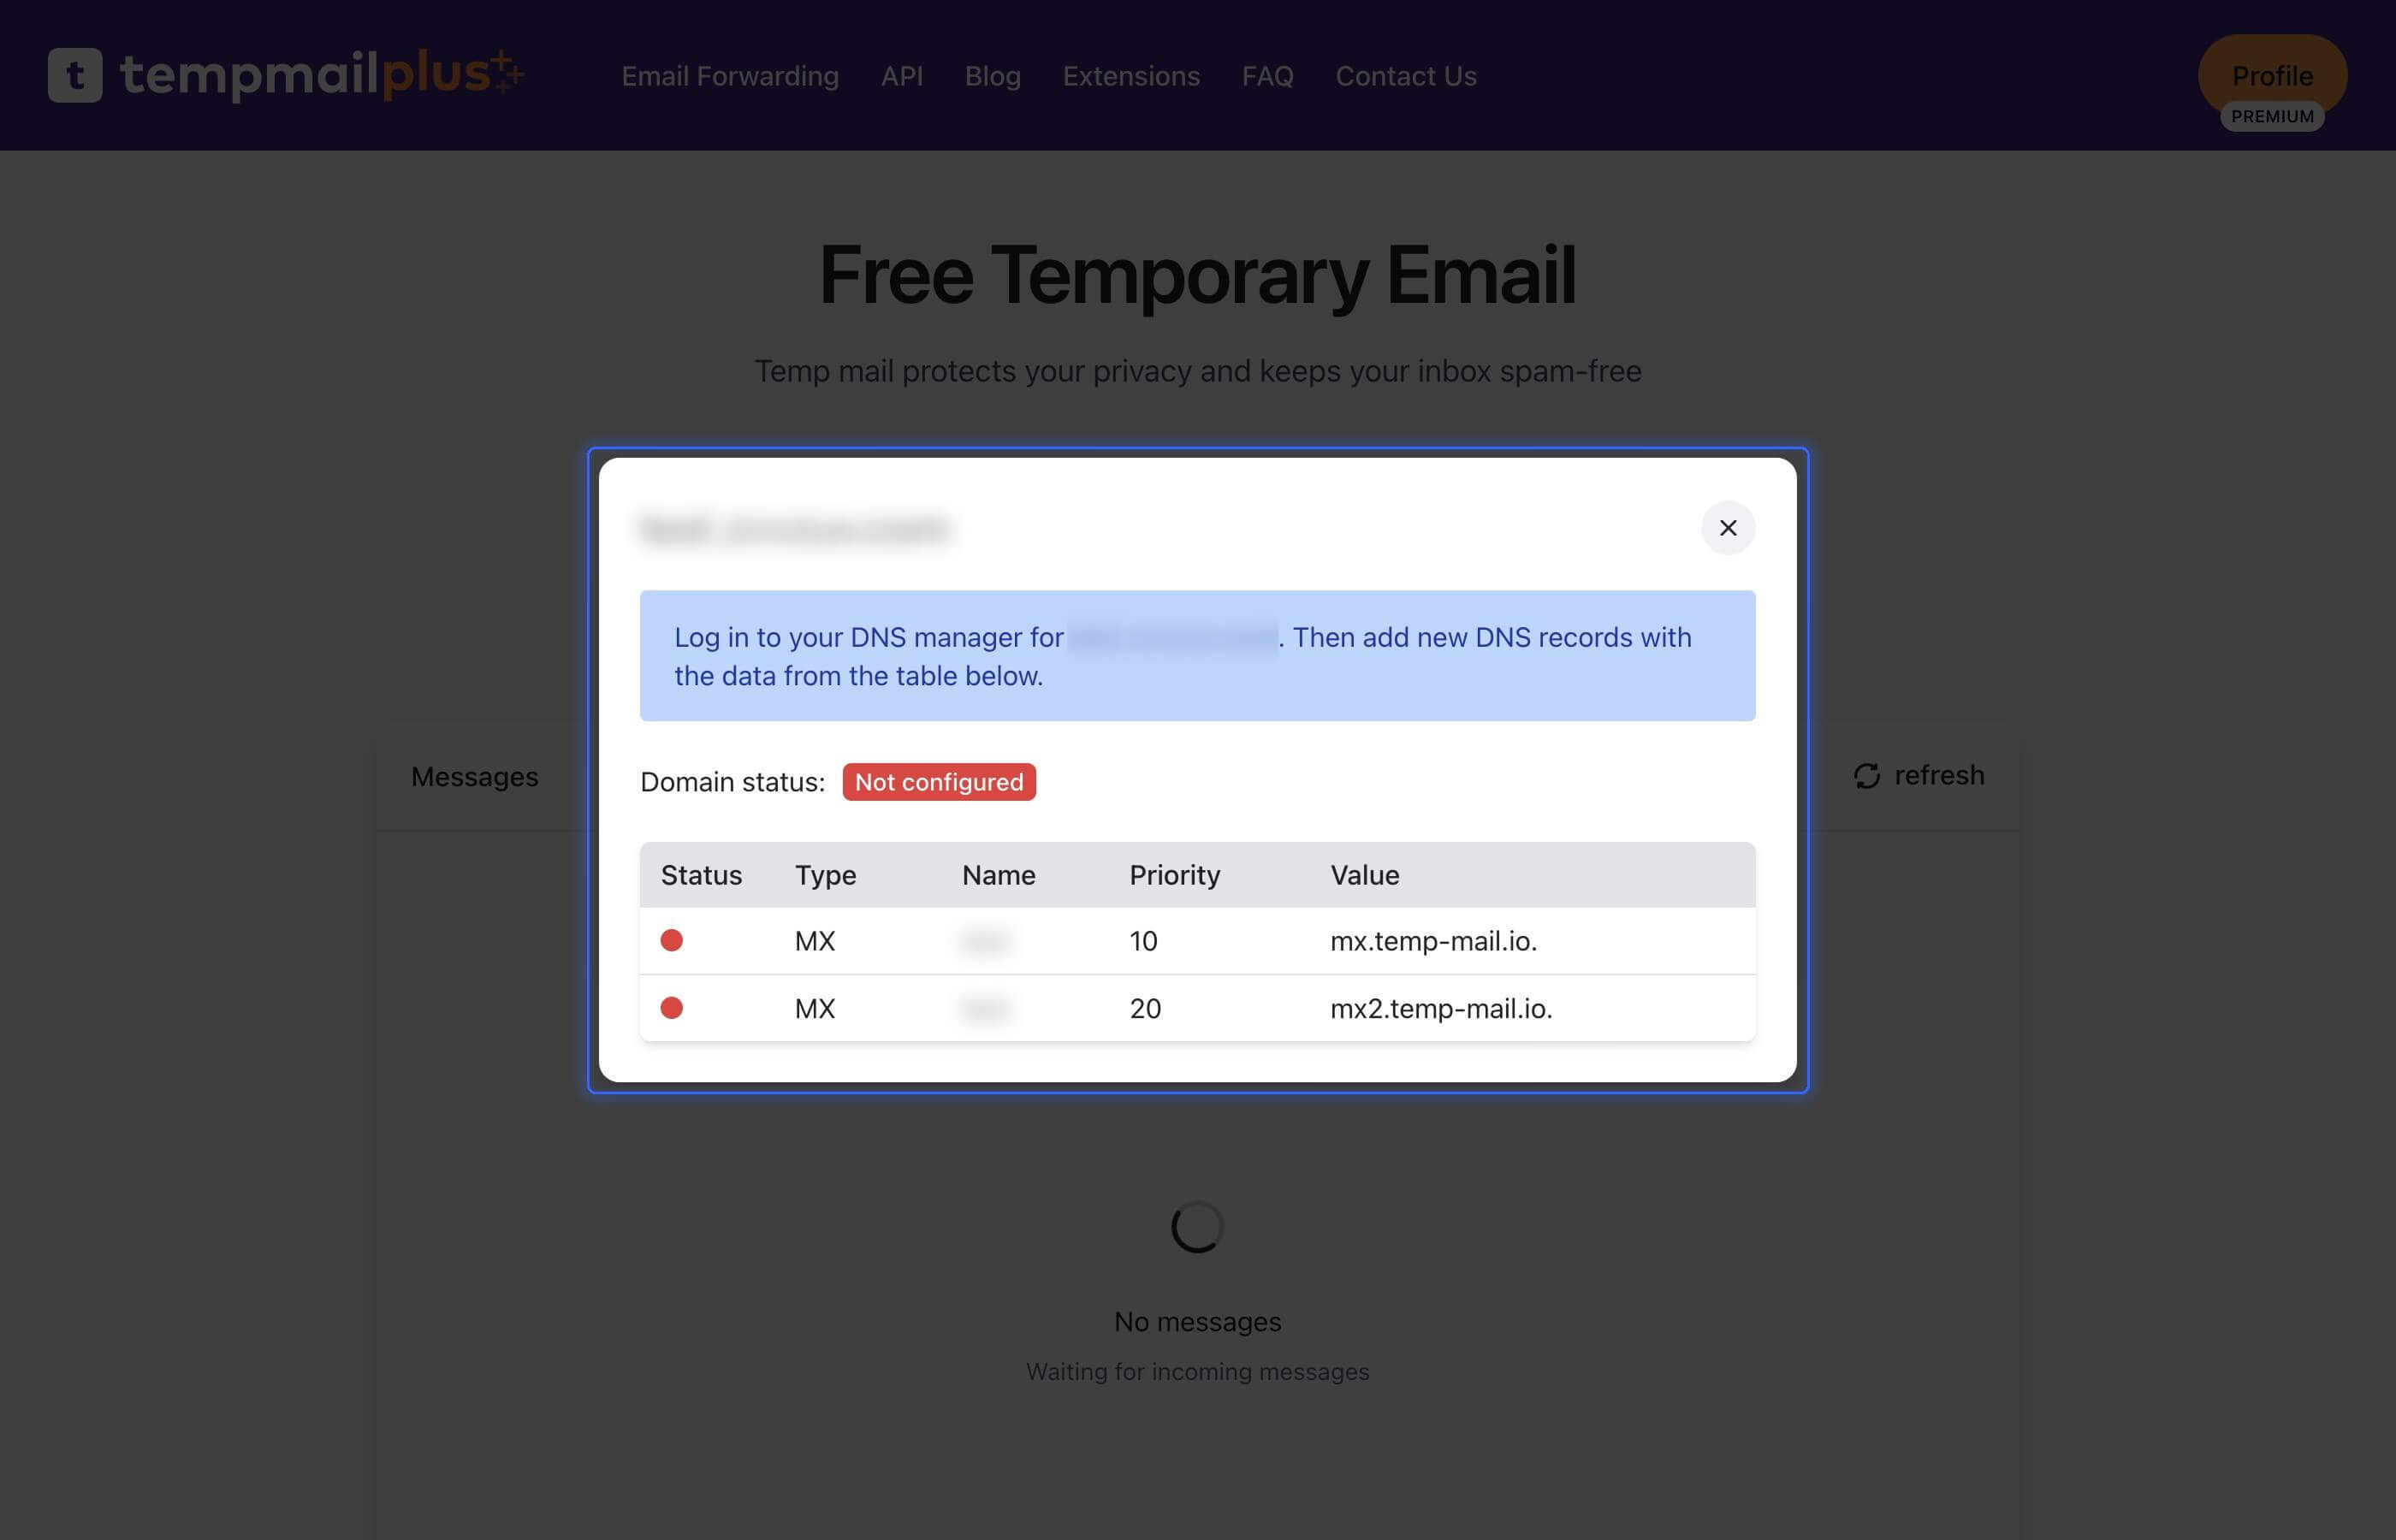
You should add these records to your domain registrar DNS settings. Go into your domain registrar (e.g., godaddy.com), find your domain in the dashboard and look for DNS management or DNS settings.
Common locations for DNS settings:
- Domain Management → DNS Settings
- My Domains → Manage → DNS
- Settings → Domain Settings → DNS Records
- Add MX records from temp-mail.io to your domain registrar. In general, you need to find something like "Add Record" or "Add MX Record" option.
MX (Mail Exchange) records tell email servers where to deliver emails for your domain.
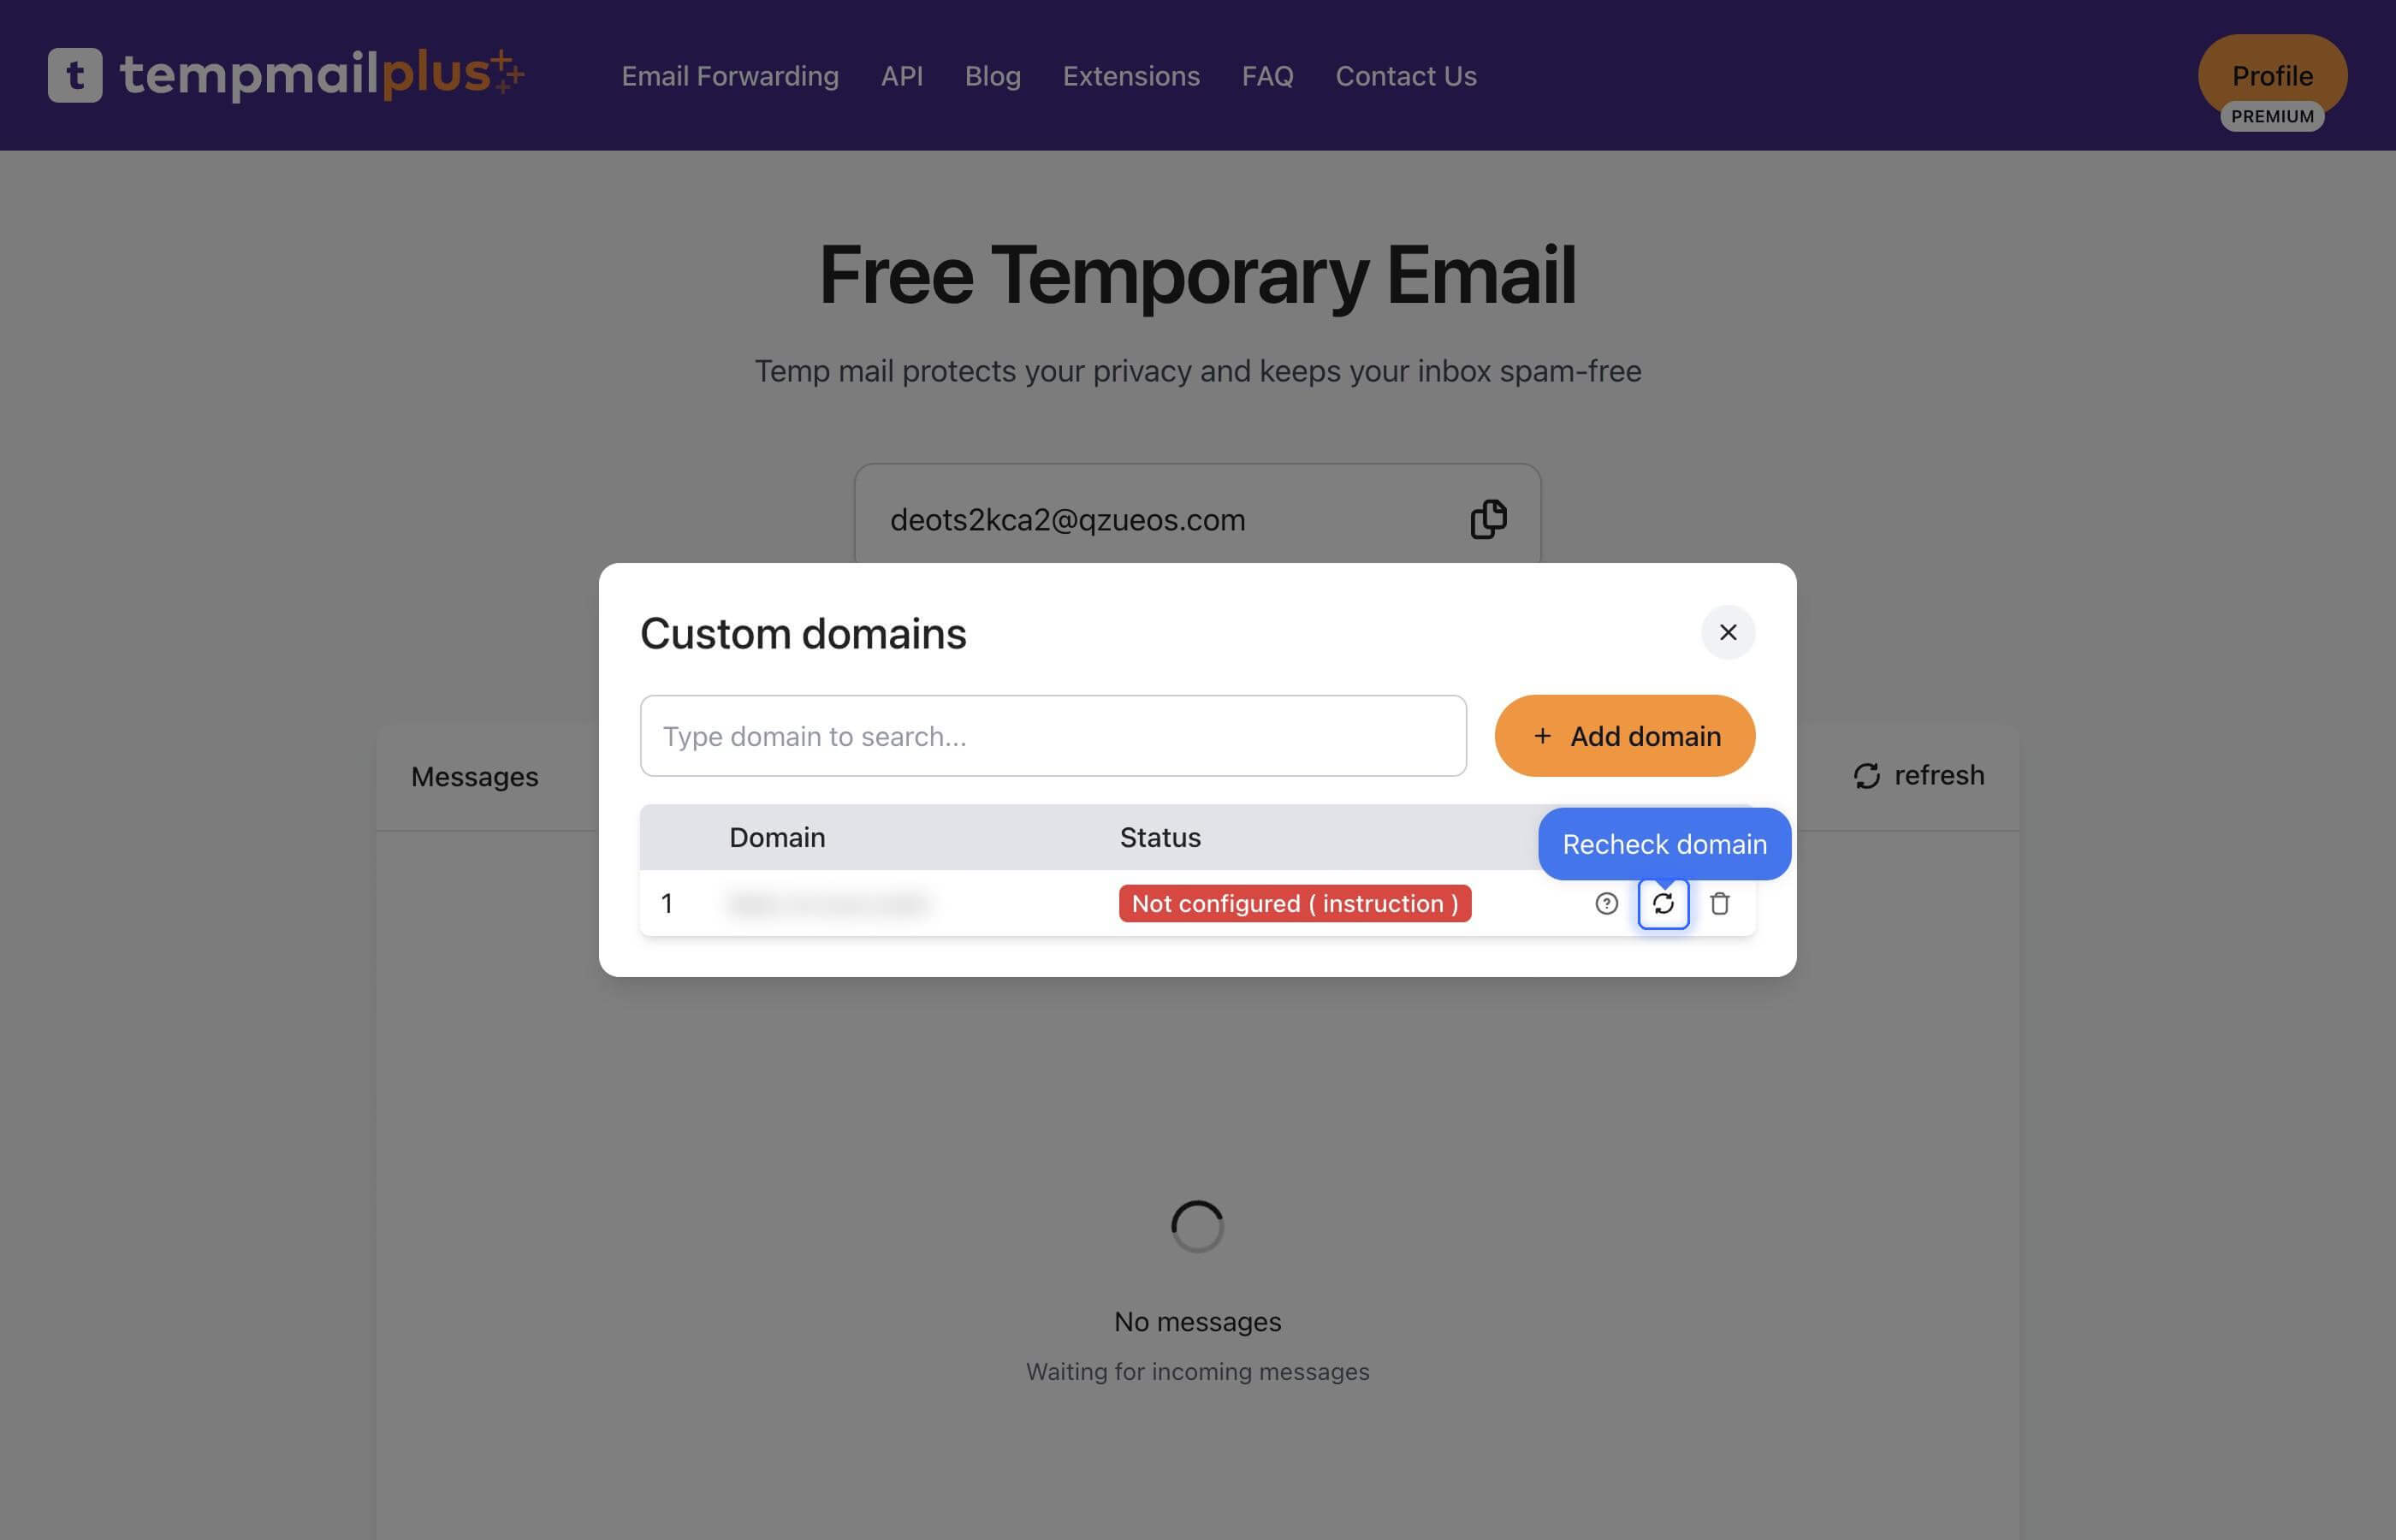
- Get back to temp-mail.io and click on refresh icon to update information about your domain.
- Whoa! You did it! Now you can use your custom domain for your email addresses.
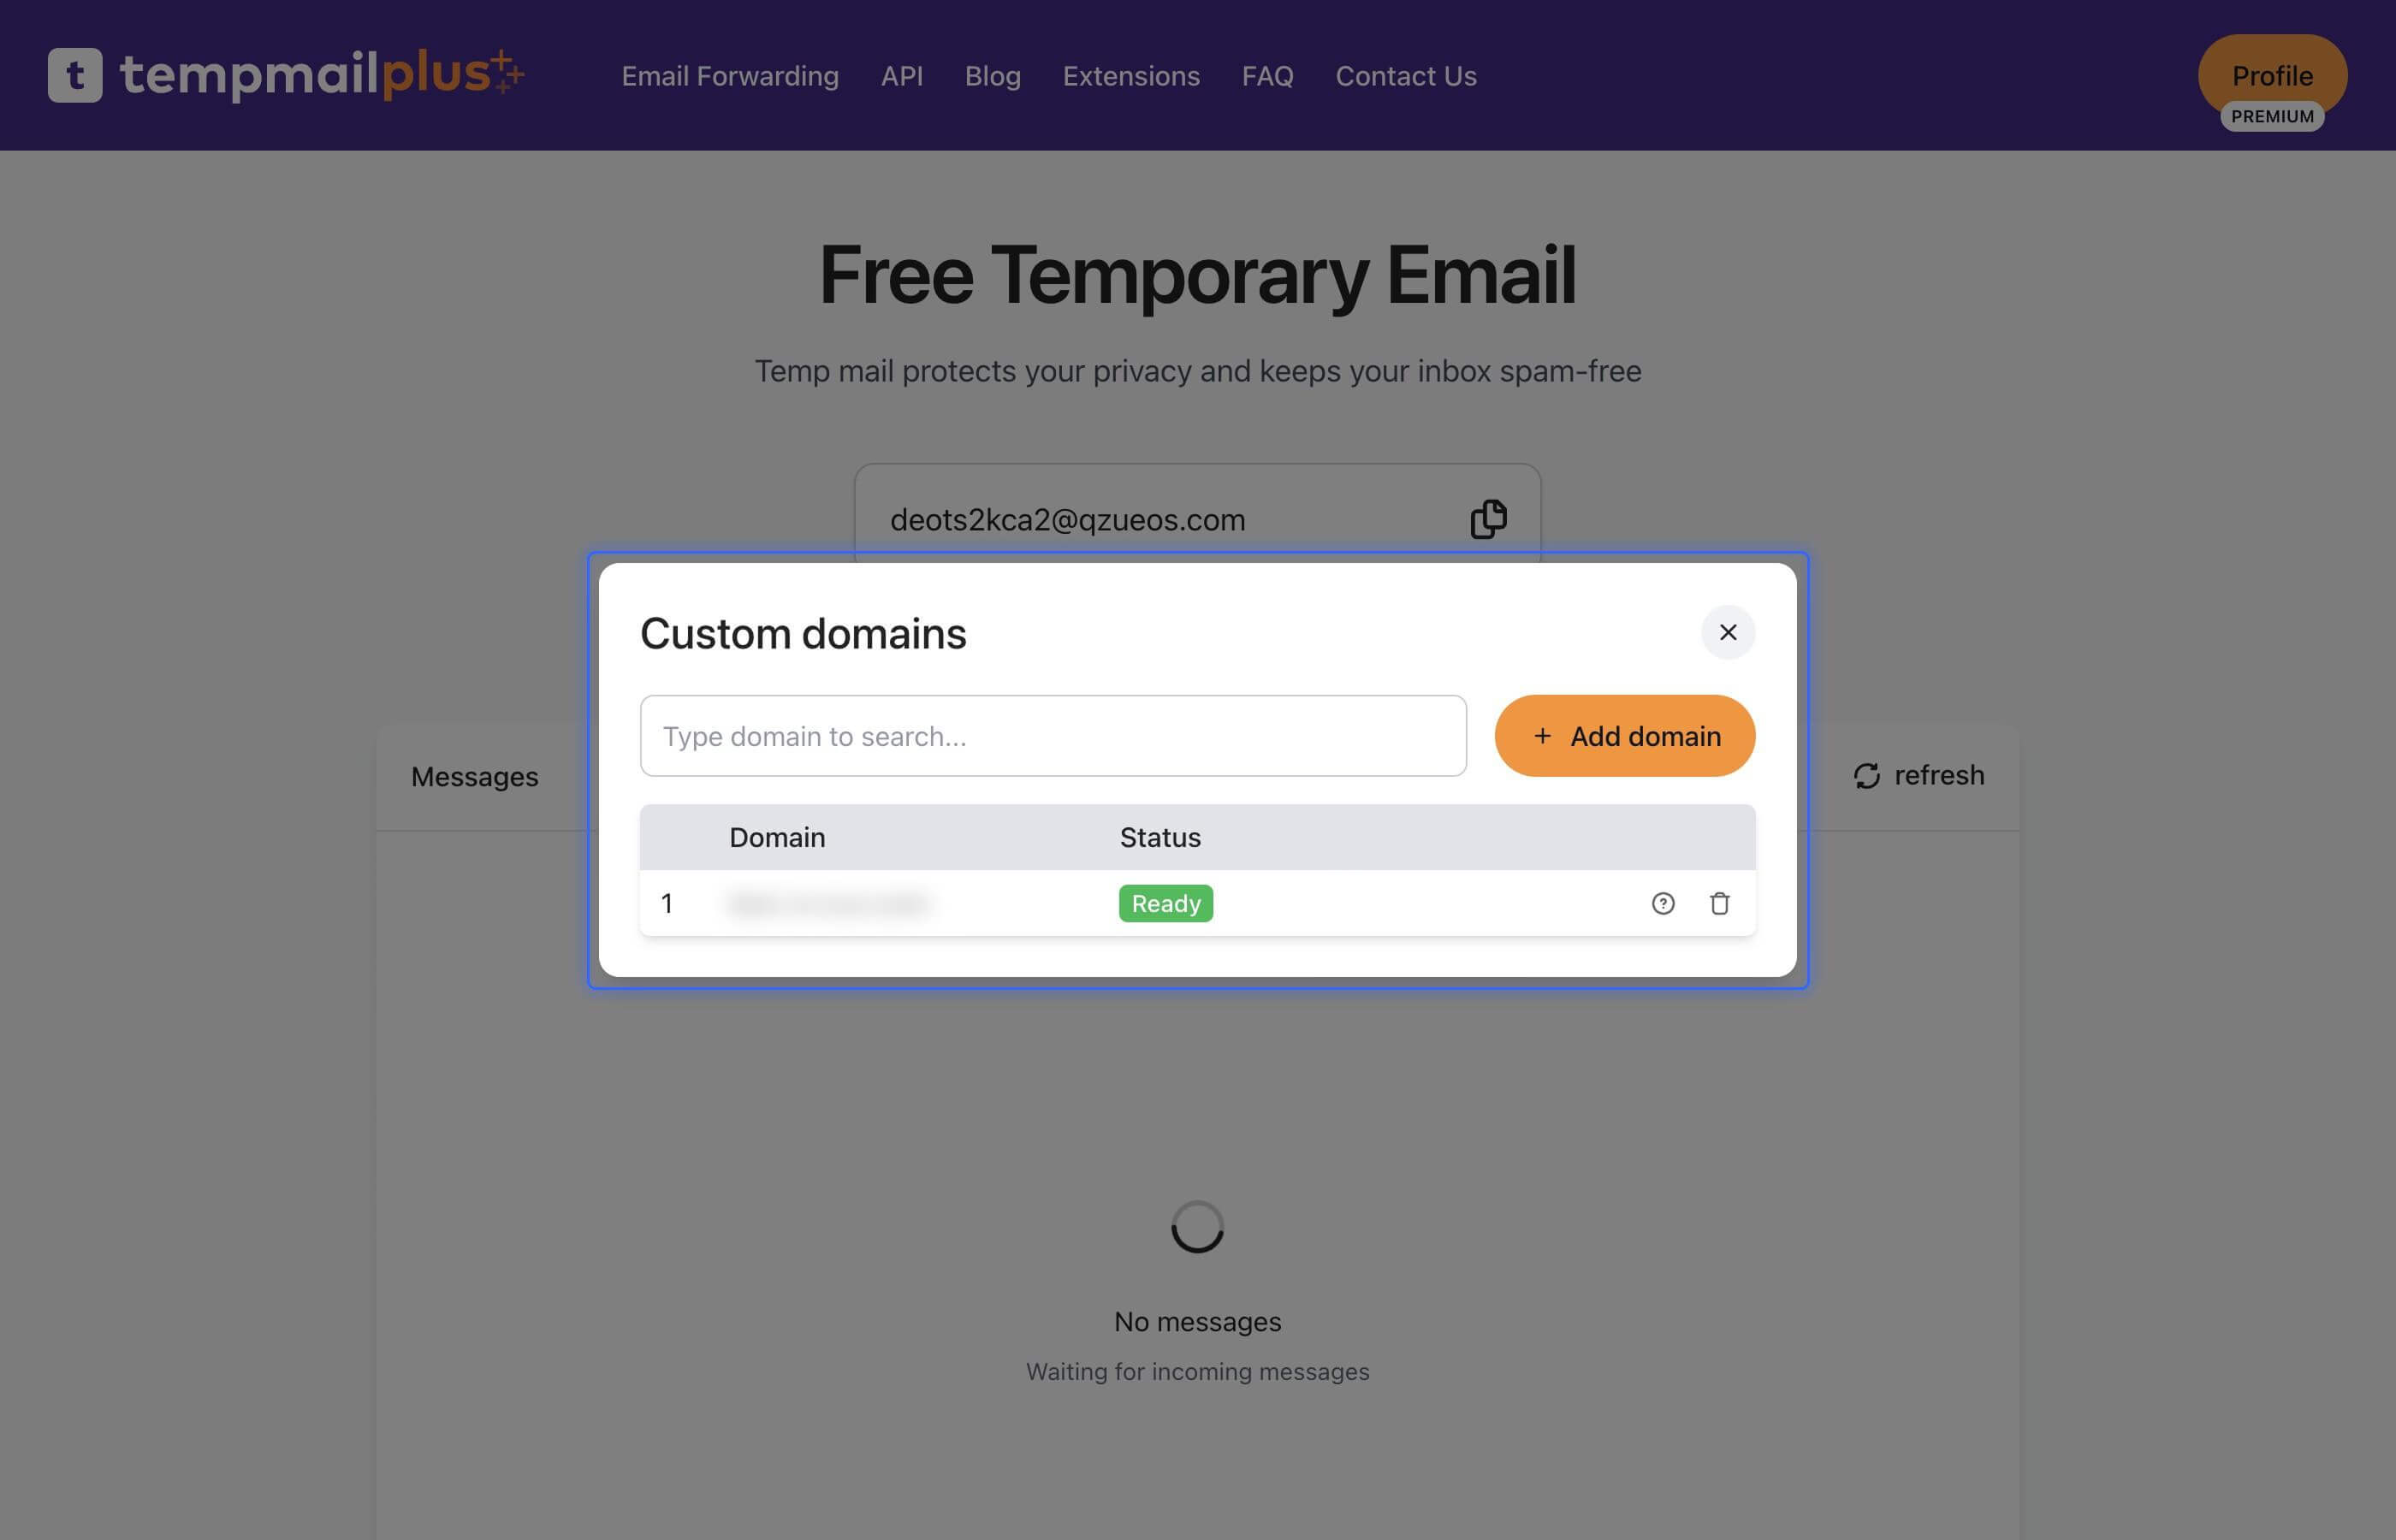
- Choose brand new custom domain and create a new temporary email.
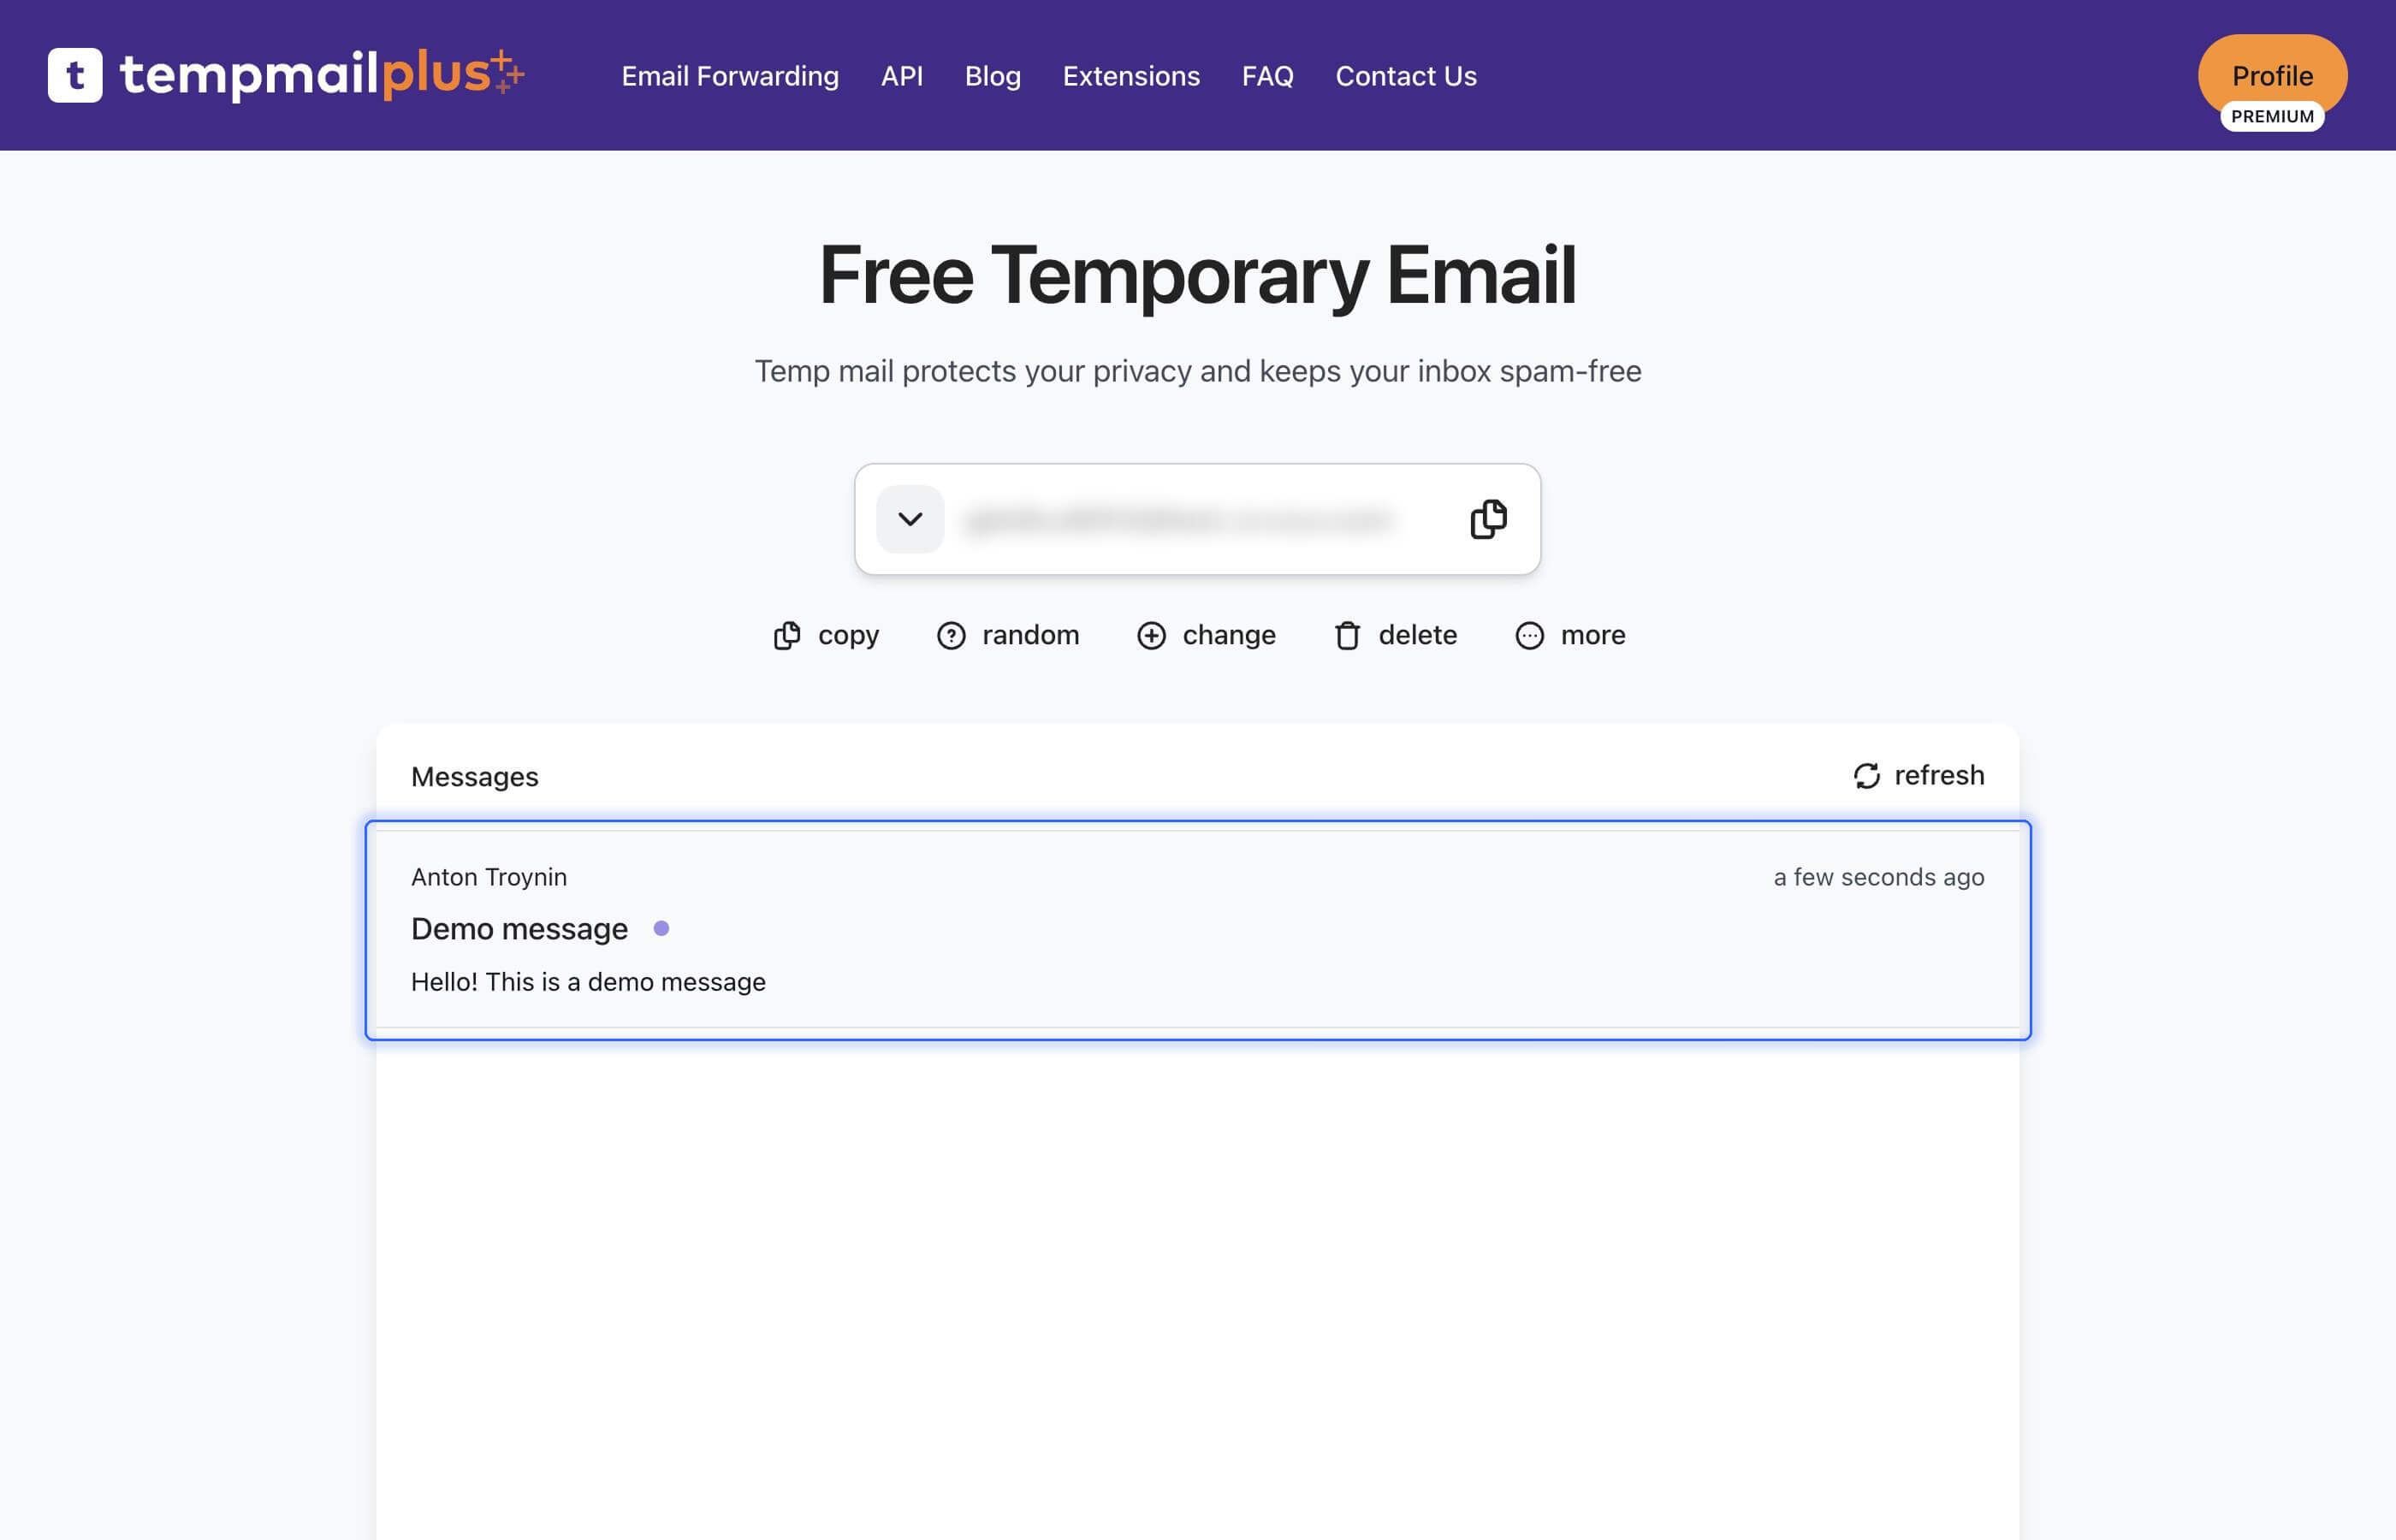
- Send a test message to your temporary email address.
Troubleshooting
In some cases you may experience issues with custom domain configuration. Here are some common solutions.
- Wait 24-48 hours for full propagation
- Use online DNS checkers to verify propagation
- Clear your browser cache and try again
- Check priority values
- Ensure TTL values are reasonable (3600 seconds is typical)
- Double-check added MX records
Conclusion
Setting up a custom domain with your temporary email service requires careful attention to DNS configuration and patience for propagation. However, the benefits of professional email addresses and better deliverability make the effort worthwhile.